31 July 2010

Favourite Things - Week Four

The Favourite Things Project from Being Tazim has us thinking about shoes we love.

I have many, and I do mean many.

Unlike one of the girls I work with who has a whole wardrobe just for her shoes, only the bottom of my cupboard is full. Under my bed I have 2 stacking boxes, also full, and the ones I can't fit in either place, just stay on the floor until I can't get over the pile anymore.

At the moment I have 2 favourites. My little flatties decorated with sequins and beads, and my 'coastal' slippers.


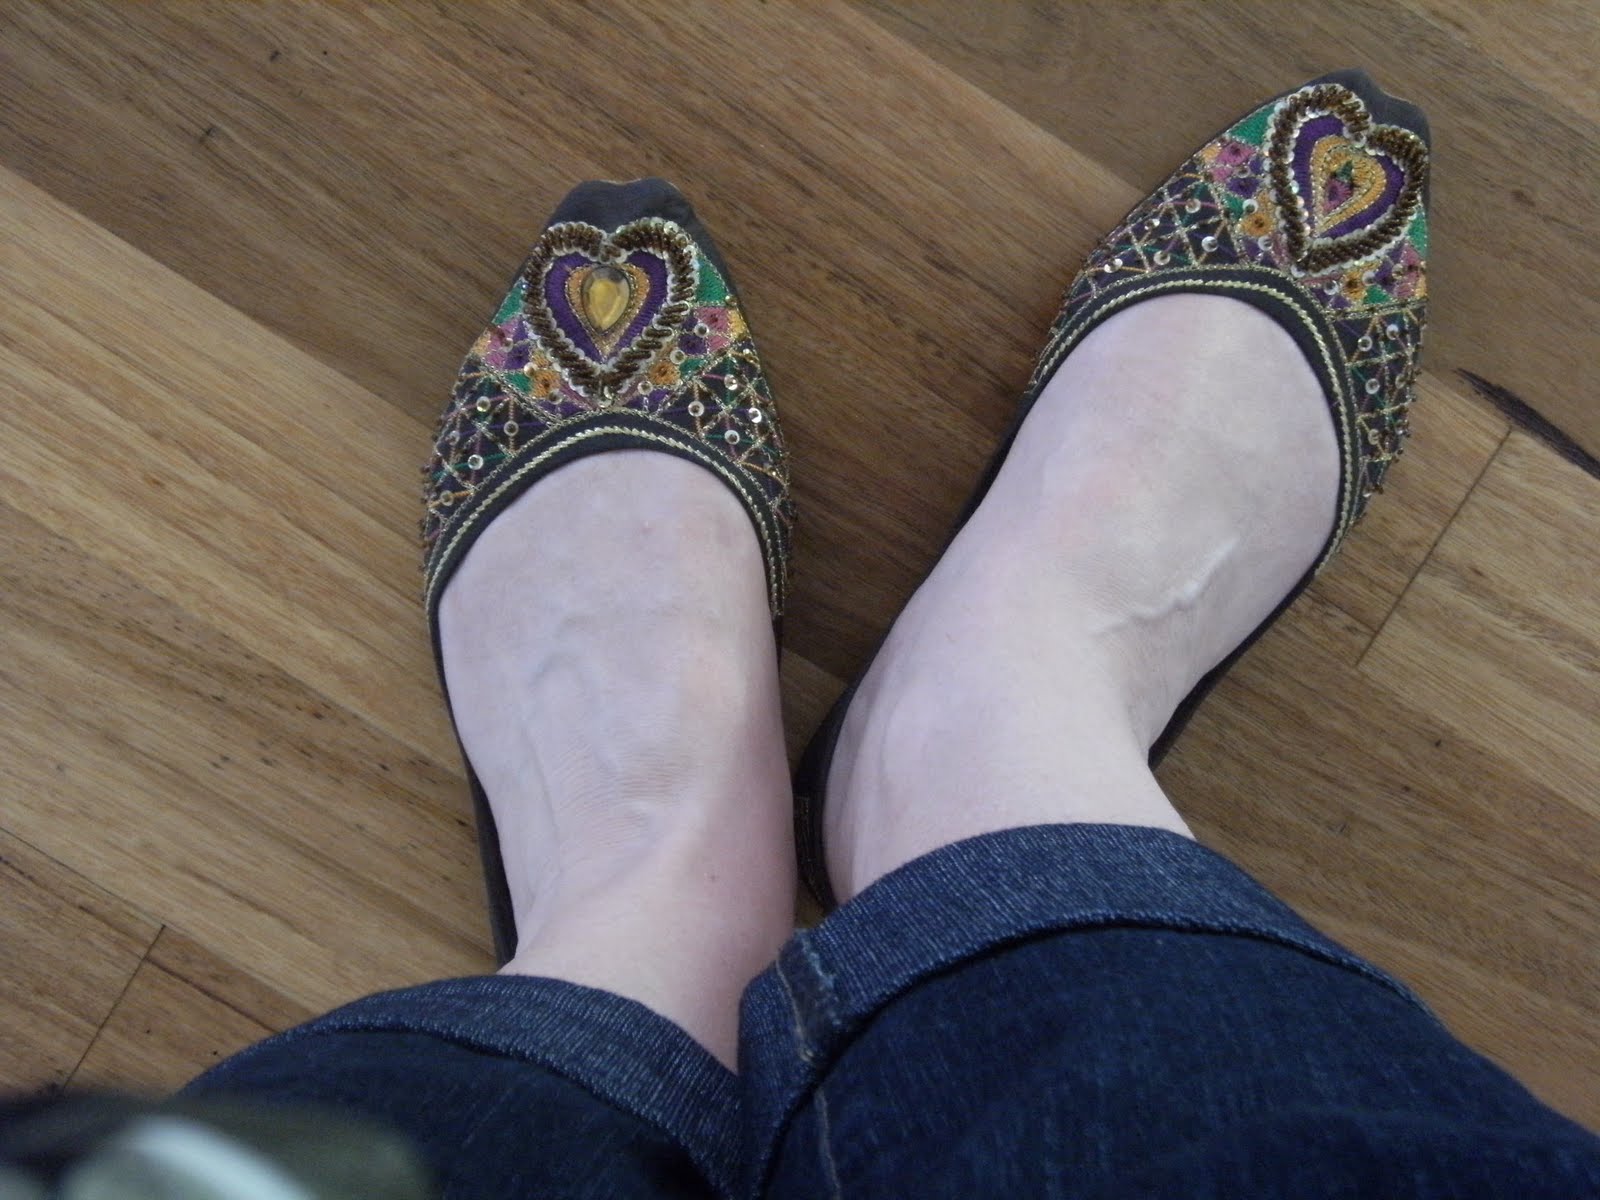
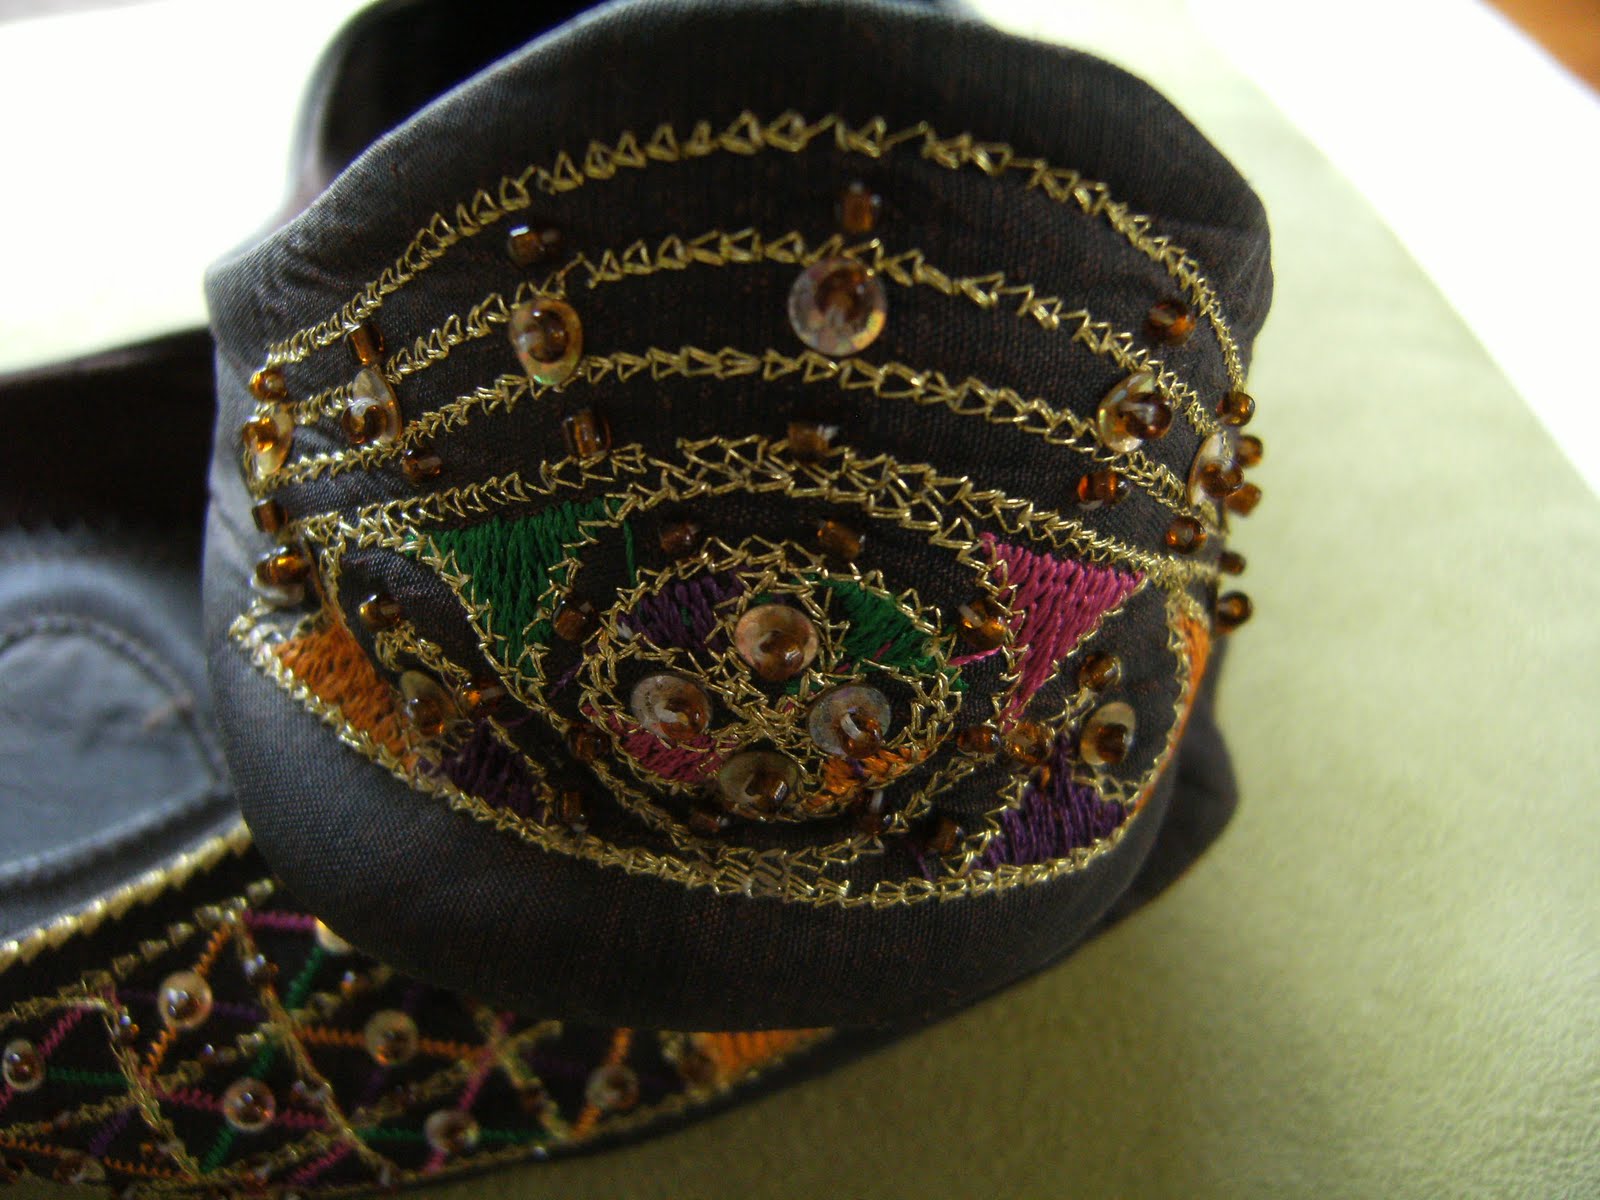
I've had these forever and wear them with everything and everywhere.
My second pair of favourites is these slippers I bought when I was last in Bundaberg. There is a beautiful homewares store at Bargara, 'Homeleigh House'. I just happened to be driving by one afternoon on my way to visit family and it took my eye. So I stopped in and an hour later left with some lovely purchases including these cuties.


Project: Ikea Draws

I finished this project quite a while ago, but it's taken me all this time to finish the post.

Would you believe it was March, a whole 4 months ago.

There are about another 3 Project posts to do. I lose track of time these days and try to fit in what I can. Holidays are coming up soon, so I'll hopefully be blogging my little heart out.

This weekend is a 4 day weekend for me, very unusual to get the time off. Hooray from 'Travel Days'.

This project isn't hard. Follow the instructions from the Ikea kit to build it. But I thought it needed a bit of a face lift, so before I built it, my trusty helpful tools, paint, and wallpaper off cuts came out.

The wallpaper off cut is, you guessed it, Florence Broadhurst. It's featured in a recent post,
Florence Fanatic with a photo of these draws and an assignment for my Certificate IV in Colour & Design in 2007.

Instructions:

You'll need:
1 pack of Ikea 'FIRA'
Craft cutting knife and/or scalpel
Spray glue
Wallpaper off cuts
Sandpaper
Paint Pot or leftover paint (acrylic) and brush (You can now get packs of 2 paint pot brushes from hardware stores - only around $5.00)
Hammer and electric drill with Phillips head attachment

Picture 1: Photo of the pack for the draw set - Ikea product 'FIRA'.

Picture 2, 3 &4: Identify the pieces for the draw fronts. Have ready your spray glue, wallpaper off cut and a cutting tool.

Either have a piece of wallpaper big enough to lay all the draw fronts down, OR cut each individual piece of wallpaper for each the draw front. You will need to make sure there is a little bit of overhang, you can trim this off to a perfect fit when the glue is dry. A regular craft cutting knife is suitable for this.

When the glue has dried trim around the curve at the front of each draw (the finger 'hole'). I used a scalpel for this, as the fine blade helped cut around the curve easier. You can get these at craft stores like Eckersley's.

Picture 5 & 6: While you are waiting for the glue to dry on the fronts, identify the pieces for the top and 2 sides of the casing. Sand back a bit. The ply it's made out of is quite rough and because they make them so cheaply, the finish isn't great.

Choose an acrylic paint to colour the top and sides. I chose a Dulux paint pot in 'Self Destruct'. The colour is all down to personal preference and the decor of where you are going to put the piece.

Picture 6,7 & 8: When all paint and glue is dry, assemble as per the Ikea instructions.

Picture 9 & below: VOILA!! All done. I use mine to house all my acrylic paints, some brushes, my pastels and one draw has pens, pencils, rubber, ruler, etc, etc.

Screenprinting with Shivaun

A while ago I was reading a post on Sketch & Jones which prompted me to go back to my original roots of Screenprinting.
{Picture:Repeat & Register artwork}
I worked for a Screenprinter as an after school job a long, long time ago. They lady I worked for did all the printing etc, and I did all the 'extras', gluing fringing on sashes, folding T-shirts, etc.

You know, the type of job you have after school. Spend a couple of hours a few days a week to get some pocket money.

Mrs McLucas was the lady I worked for. She was my Art Teacher's wife. Then in later years, I worked for a commercial screenprinter a couple of times. Here I learnt how to coat a screen with emulsion and expose a screen in a 'dark' room. These are a little bit different to a photographer's 'dark' room.

When I read about the screen printing course on
Sketch & Jones, I just knew I had to do it. Di Jones from Sketch & Jones mentioned in her blog that part of the day was learning how to expose your screen just using the sun. After years of working with the commercial screenprinter, I never realised you could do this. So for me, it was a revelation, because it meant I would be able to do my own screens at home.

Shivaun Leis was the lovely young lady teaching the day course. Shivaun, along with her brother Amon run
Pete's Counter Sales in Leichhardt NSW. They mainly deal with industry, making and exposing screens for commercial purposes. They do some printing for clients.

Shivaun shows a real love for the art of screen printing and she has big dreams to bring it to the 'people'.

I didn't end up buying my screen that day because I needed to fiddle a bit with the artwork. I sent her a placement print and a repeat and register to check before the day. We ended up doing the repeat and register because the other 2 people in the class were doing placement prints.

Anyway, it was a great day, I learnt heaps and have since applied my knowledge.

On Thursday I called in to see Shivaun and collected a new screen, emulsion, a couple of pots of colour, a container of screen stripper (to clean the emulsion off), and some other helpful hints.

Being a four day weekend for me I plan to re-do my screen and expose the placement print also.

Here I am (proudly in my Wallabies jumper) doing my second run of printing of the repeat and register.
This is the artwork for the repeat and register. If you are unsure of what I mean, it's just basically a REPEAT of the pattern using one piece of artwork and making sure it REGISTERs when you place the artwork side by side and top to bottom. It needs to register all the way around the print to get an overall pattern. This artwork above is only a repeat of the A4 artwork.
This is my placement print. This is a 'picture' as opposed to a repeat and register. This can be used as a feature on say the front of a cushion and then the repeat can be used on the back.
This was the final result on the day. It took a little bit of fiddling around to get it to match up as we weren't really working towards an 'expert' outcome, more to get the process down pat.

So I'm off to prepare some more screens with artwork I did back in 2008 when I completed my Diploma in Surface Design. Plus I have so many ideas for other artwork, I'm now back to not sleeping very well because my mind won't stop!


25 July 2010

Favourite Things - Week Three

I think I'm a little bit late with this entry, never mind.

Favourite Drink.....mmm!!! So many, it's hard to decide which way to go. I could talk about all the yummy alcoholic drinks I like to 'try' and possibly be labelled a 'lush'. Or I could go the safe way and mention a cold clear glass of thirst quenching water, which is always a good option anyway. Sparkling Water, Soda Water, Mineral Water, Still Water and so on. Who would have believed we'd have so many options for water.

But the winner would have to be TEA. Green Tea to be specific.

I've found at times it can be very refreshing and calming to the stomach. There is a couple of brands I buy quite regularly mainly as leaf tea. A good leaf green tea, I've been told, is one you can continue to top up all day.

Having said all that, I have to suggest something that is more of a favourite than green tea itself. Now I know it's not a 'favourite drink', but it is DEFINITELY more a favourite than green tea itself. It is made from green tea, though.

Guessed yet??

GREEN TEA ICE CREAM

I found a beautiful creamy Green Tea Ice Cream in Japan and everytime we were in a new town, I would try to find the same chain of grocery store, just so I could buy a little tub of this Ice Cream!!

14 July 2010

Project: Bathroom Renovation Rescue

Going back a couple of months, I published a post 'Reaching a Milestone' about my Dad and my Aunt reaching their 80th birthdays.

We had a great day at home with 14 elderly friends and family members.
About a month before the day, I felt the bathroom needed to have a once over to make it a bit more presentable. After 14 years it was looking a bit tired. The Renovation Rescue was only subtle touches, but gosh it made a difference.

From the 'Before and After' picture above, you might think I haven't done much. To be honest, I didn't. A lick of paint, a few new bathroom fittings, some matching accessories and new towels to match, was all I did.


I chose Dulux ECRU in half strength to paint the walls, with gloss ANTIQUE WHITE for the window and door architraves, and the door. The colours matched perfectly with the existing tiles. The vanity just has some new door knobs.

You can see in the collage above, I changed the towel rails with a stainless steel one from Ikea. Other things from Ikea are, all the baskets (the white baskets on the bath and the small cane ones), the tissue box, the liquid soap dispenser and cup on the vanity (there is also a ceramic box from this set on the shelves), and lastly the white shelves.

The absolutely luxurious new towels are a dream. Both sets, the white and the taupe colour were on sale. Always looking for a bargain, especially around the end of the financial year. I actually didn't realise how worn my old ones were until I bought new ones!

I had only ever had 2 towel rails, so when the boys came to visit there was towels everywhere. I swear they are worse than girls. (Just to clarify, my 2 sons are in their 20's, with the youngest turning 25 this week, but I cannot believe how many clothes he has and how often he's in the bathroom!) Anyway, I digress. Getting back to the towels rails.

There is now a stainless steel towel rack, so towels can sit on the top (like in a hotel! mmm...nice) and it has 4 towel rails. To add to the extra rails, you can see in the collage there is now 2 knobs on the back of the bathroom door. It was always difficult to get the towels dry when we were all together.

Both of the boys have been for a visit since I did the reno, and it worked wonders. No towels lying over the bath, everything was neat and tidy. Yay!!!

The last change I haven't mentioned was the lighting. I always found the old incandescent lighting very 'yellow'. Hallogen bulbs have given the room a much clearer light and the light fitting is directional. So I have set the lights facing the bath, the mirror and the shower cubicle.

Costs: about $A450

I'm very happy with the result. When I can afford it, I need to look at replacing the vanity and shower cubicle/screen, and lastly the tapware. These would be the biggest expense.

If it's decided to do the FULL reno, the tiles and toilet would be changed also.

For the moment, this quick renovation rescue made a huge difference and looks great!

13 July 2010

Favourite Things - Week Two

Week two is here already for 'The Favourite Things Project' from Being Tazim.

What's your favourite Mode of Communication.

I love letters and cards with special sentiments.

Electronic correspondence has taken the place of these old standards.

I'd much rather have a personally chosen card than one of those animations or a smiley face bouncing all over my computer screen wishing me a Happy Birthday, or Mother's Day.

Probably comes from my stationery fetish. I have a huge collection of stationery sets, hand made cards, book marks and notepads.


10 July 2010

10 things I love about me

Emma from Rain & Sundays is so right. How often do we take time to think about the things we 'love' about ourselves.

10 Things I Love About Me Project

So I've taken the time to 'love' some things about me.
  • I love that I can make things
  • I have 2 wonderful sons (a product of me, so I think I can add them)
  • I'm not scared to have a go
  • I am creative and
  • Am continuing to educate myself - even at my age!
  • I have a great relationship with my cousin, Leanne. We are like sisters and planning to do a trip to New York, London and Paris for our big 'O' birthday in a few years
  • I can cook really yummy deserts
  • I have my own style and
  • I take pride in how I look but don't follow trends.
  • I am a generous person

Do you know what....I feel really good having said that aloud.

Thanks Rain & Sundays for making me do that.

Admit it...I have a Fabric Stash.

Do you have a fabric stash? Do you see something and imagine what you could make it in to?? But....it takes a while before you get around to it!!!

Then you MUST have a fabric stash! I have...and I admit it! Put your hand up if you are in the same boat.


I love my fabric stash. I have Amy Butler fabrics, offcuts from Ikea, patchwork fabric pieces from Spotlight, 2 beautiful pieces I bought in a shop at Shibuya in Japan, an old denim skirt that I want to make into a bag with maybe a bit of the patchwork fabric in applique.

I could go on, but I want to hear about or see a photo of your fabric stash.


Here is some of mine. These are good size offcuts of Amy Butler fabrics I bought from the merchandise stand at a talk Amy gave at The Wentworth in Sydney about a year ago. She is such a lovely person and I have an autographed copy of her 'Midwest Modern' book from that night. Amy was nice enough to have a chat with everyone for a couple of minutes while she was signing her books.


Thanks to Oikology for the info on how to make my own button.


05 July 2010

Florence Fanatic

I think the verdict is in.

I AM A FLORENCE BROADHURST FANATIC!!! Yep...that's right..a definite fanatic!

Confirmation... a little thing like 6 degrees of separation as part of my fanaticism. Actually I'm not sure if that's what it's called, but there is a connection.

1. Florence comes from Mt Perry in QLD and went to music lessons in Bundaberg. Mt Perry is about an hour or so north of Bundaberg.

My home town is Bundaberg.

2. Florence was a designer with a screenprinting business.

My first job during school was at a screen printer. I later went on to work for another in about 1986/7.

3. Florence's business premises was in 12-24 Roylston St Paddington.

One of my old customer's business premises was 13 Roylston St Paddington.


4. Akira Isogawa used Florence Broadhurst designs in some of his first collections.

One of my old customers printed fabrics for Akira Isogawa (drawing a long bow here, I know!!)

Ok, so it's not 6...close enough I think!

This is my loungeroom featuring the Ottoman and some cushions, all in Florence Broadhurst fabrics. The 'Canvas Art' from a previous blog is on the wall.

Ottoman in Florence Broadhurst fabrics 'Bamboo' and 'Circles and Squares' both in Lime. Cushions are in 'Fingers', in a red colour way specially printed for a client, the lime green 'Bamboo' left over from the Ottoman and a brown 'Japanese Floral'. Everything is done from offcuts purchased at the Signature Prints 'Pop Up' store sales.


Another version of 'Cranes' below. Here I have covered the fronts of an Ikea set of drawers. This is another DIY project. I bought this piece back in 2007 when I was doing my Certificate IV in Colour & Design. We had to do a project from a few different eras. Everyone else had taken Art Deco, Bauhaus, Art Nouveau, Georgian. The usual. I chose to do the project on Florence as she spanned a couple of eras and included influences from a lot of them in her designs.

Japanese Floral

Horses Stampede

Egrets

Aubery

Coming back to my sewing background. I love this and would give anything to find a reasonably priced manequin and cover it myself.

One of my many visits to Signature Prints in Sydney. This was an excursion for my Certificate IV class to Signature Prints.


Rows and rows of orginial and refurbished screens. The guy who does the renovations of the screens is ABSOLUTELY AMAZING. To watch him work is an experience.

Machine printing left of picture and the hand printing tables on the right. More rows of screens, hundreds and hundreds.

Another hand printing table and more rows of screens. Signature Prints release new designs every now and then.


My Florence Broadhurst project from 2007. There is another 2 pages to this. These were the technical specs of the techniques, some history and background of Florence and current uses of her designs - fabrics, handbags, Designer Rugs, soft furnishings etc.


04 July 2010

The Favourite Things Project

I'm really new to blogging, having only started in January this year. My blog is 'trying' to be mainly about DIY projects and Design finds, hints and tips. I love making things, especially if it's making things I can use to decorate my place.

Time hasn't been my friend so far this year, so I have about 4 posts in draft just waiting to be completed. With so many other projects going through my head, sometimes I can't sleep!!!

I thought I'd start blogging as a way to be (more) creative. Kylie from
My Flying Ducks was the inspiration. I've known her since she was about 17.

I say MORE creative, because my 'real day job' is NOT part of the creative community.

Eventhough I love my job as a Facilitator, the passion to create doesn't lay dormant, it keeps working away in the background. My first love is sewing. Mum taught me when I was about 10 years old I think.

Anyway, to get to the point, I follow My Flying Ducks quite regularly. She finds some amazing things through this 'time vampire' we call the Internet.

Her most recent foray is to participate in 'The Favourite Things Project'. I liked the look of it, so I'm going to give it a go.

Might not be able to participate each week, who knows!!

Tazim from
Being Tazim has asked for the first week of the project, depict things you love about your country or city.

I am a very patriotic Aussie, and am extremely proud of our boys and girls fighting or representing us anywhere in the name of Australia.

So my visual project is all about our Defence Forces and our iconic 'Rising Sun' emblem.


Let's get them home soon.
Related Posts Plugin for WordPress, Blogger...