I haven't made a pattern for the cushion yet, I just made it up as I went along.


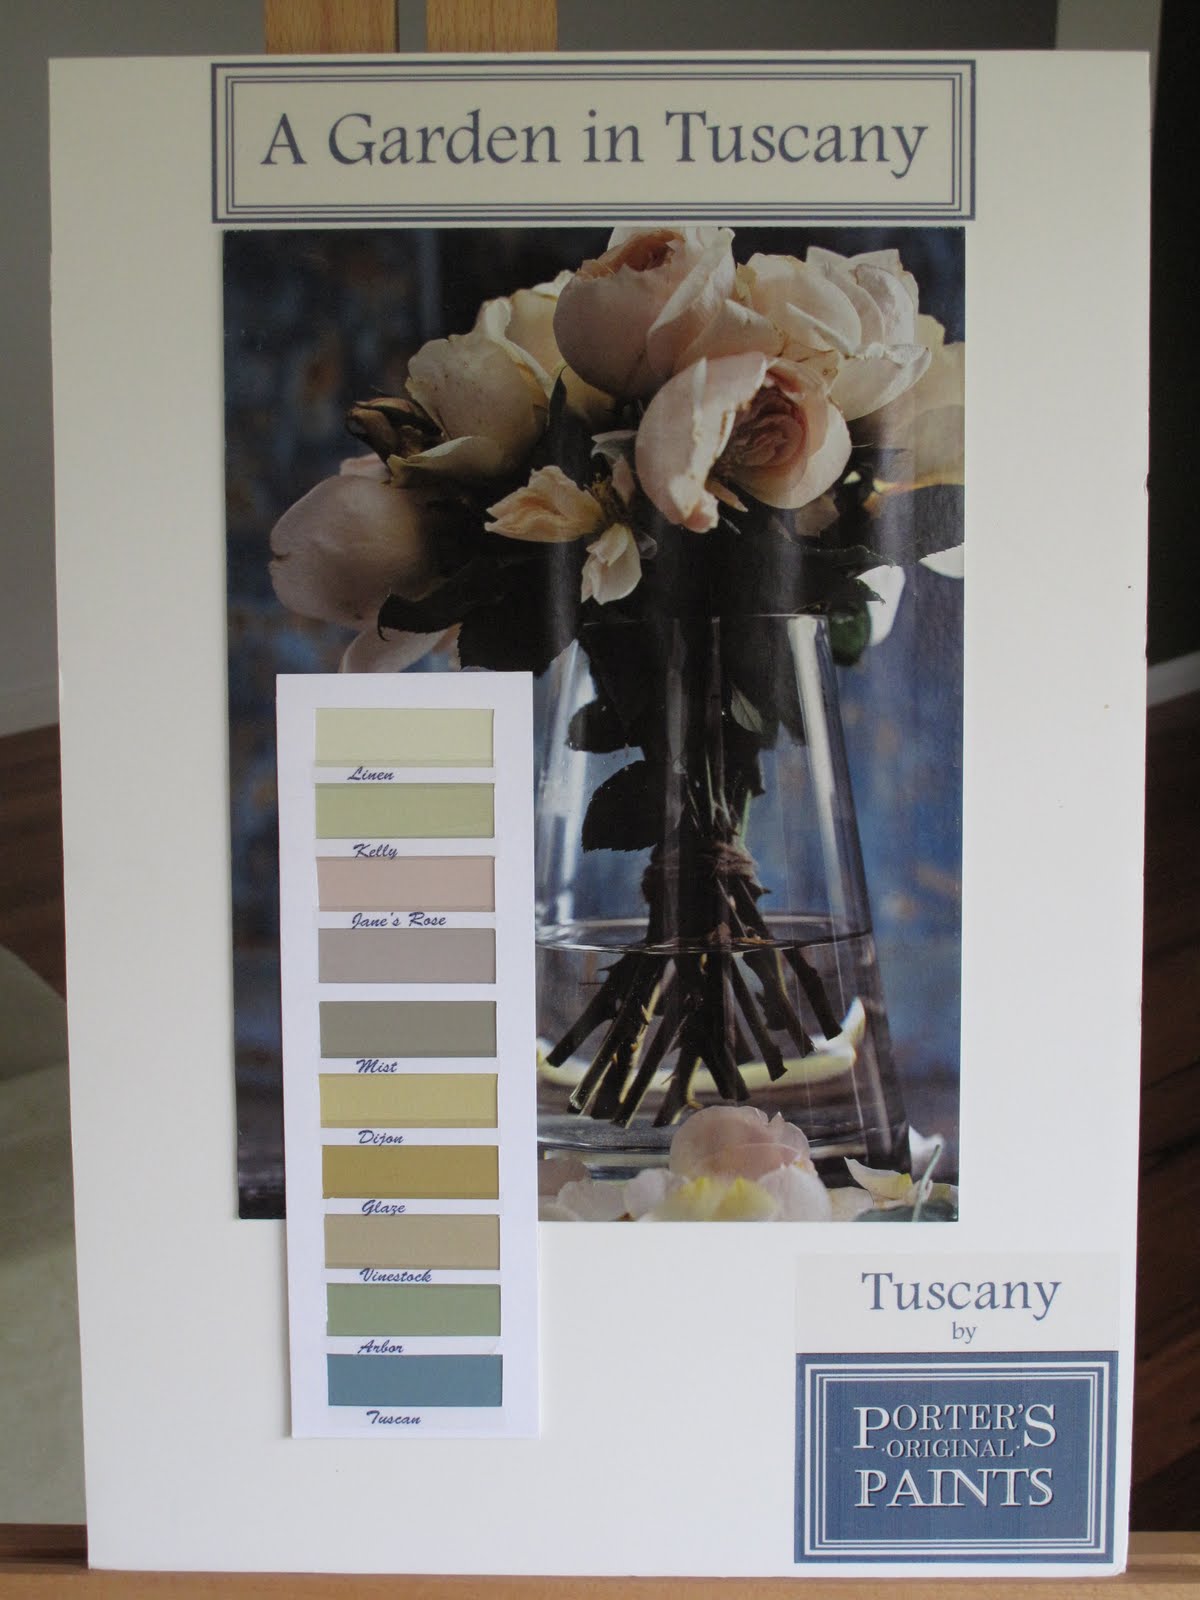
These were from a last minute assignment we were given, also in the Colour Design course. My entry was one of the 10 finalists. The award was sponsored by Porters Paints. I called my range 'Tuscany' with a play on words for 'A House in Tuscany' and 'A Garden in Tuscany.
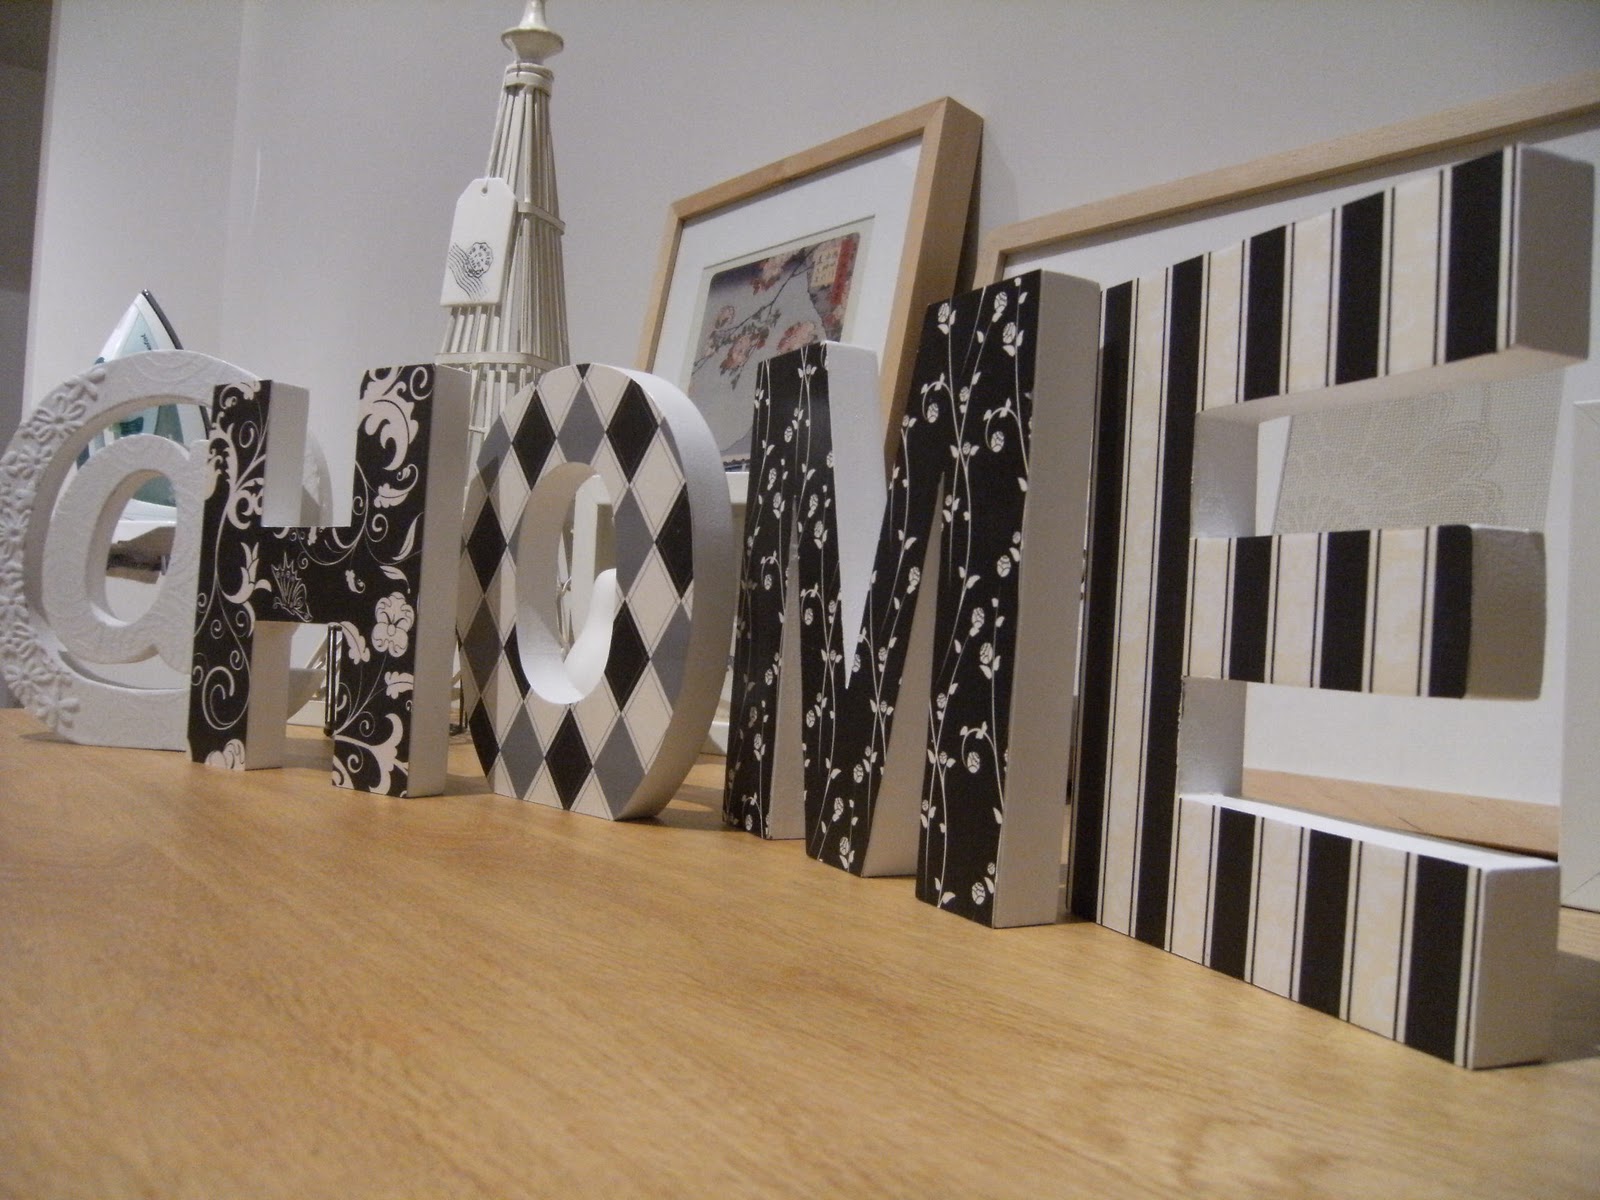
 A Bar/Restaurant refit complete with samples of tiles, paint, fabric and wallpaper. Yes!! I used a Florence Broadhurst wallpaper. Well, what else did you think I'd use!
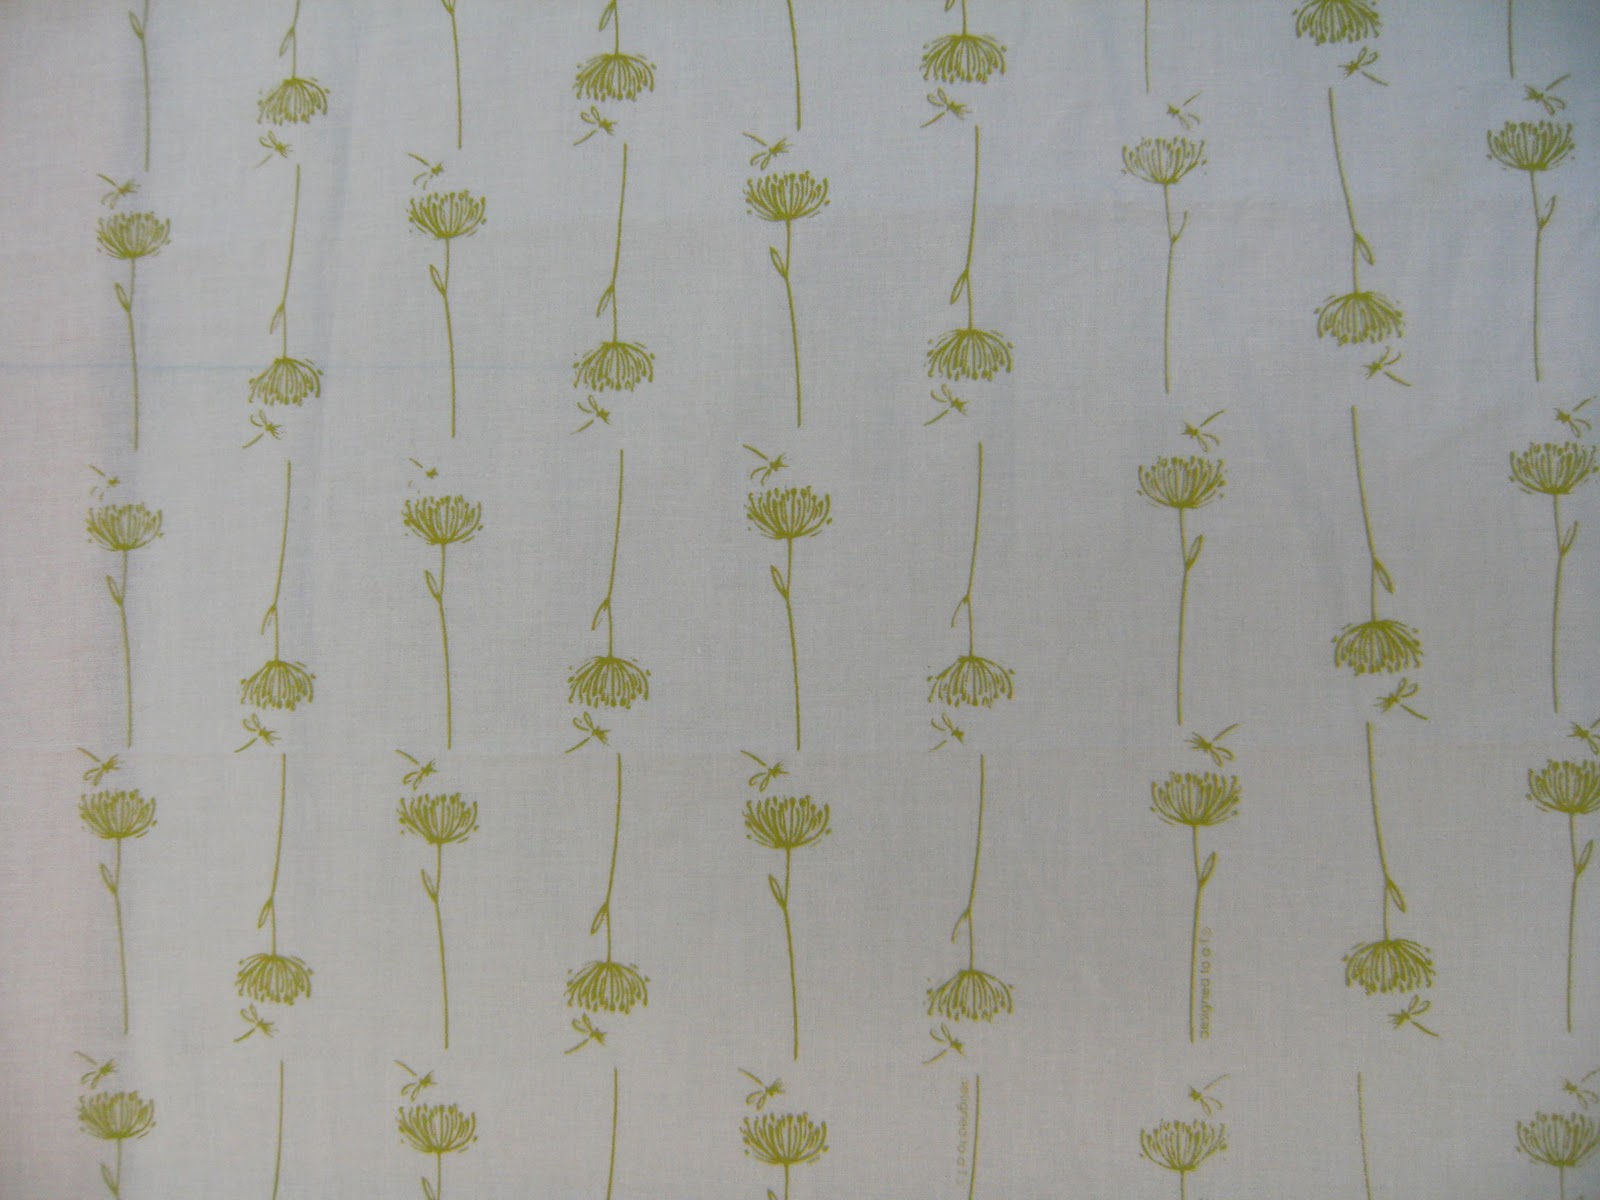
 Lastly, a colour story for fabrics to be used for outdoor furniture. I was really happy with this board.

More Creative Pursuits over at Being Tazim here.

 Series of images together - each design has a story.
 Loyalty series
  Roses series
 Four Gentlemen series

{Image: Moose & Bird}
 {One of my colour projects from my Diploma}
My educator for this course, just happened to be of Swedish background as is her husband, so they travel back to Sweden quite regularly. She introduced us to Natural Colour System (NCS) - a colour system from Sweden (and not a Crime Scene investigation unit).
Apparantly everyone over there lives and breathes this system, just as the rest of the world does with Pantone. The theory with this system is quite indepth. And they're are on their way to being embedded in the design arena to the same level as Pantone.
Anyway, my point is, that whatever we do, see or buy, has some sort of connection to colour somewhere along the way from raw materials to finished product, including packaging of our foods!
Interesting, I thought, how colour is SO connected to our everyday life. Not just the magnificent colours Mother Nature provides for us.
We know what we like when we see it, but there is a heck of a lot of colour theory that goes on behind the scene.
 {is White a colour??}I always thought my favourite colour was green or orange (different versions of each depending on what and where the colour is intended).
What's your favourite colour?
Possibly not the one you think it is. Really take a look around your environment, and see which colour stands out the most! Maybe you'll come to the same conclusion I did - It's not actually the colour you think it is! Who knows, maybe it is. And maybe it's more than one.
But do you ever really think about it? I didn't until recently.
PS I still like greens and oranges and I'll still probably buy what I like. Betcha it'll be either green, orange or BLUE!
 Thought I needed a new pin cushion, so I made a cup cake, complete with teal felt 'icing'. Bit of a 'prototype' though, will need to play around with the pattern.
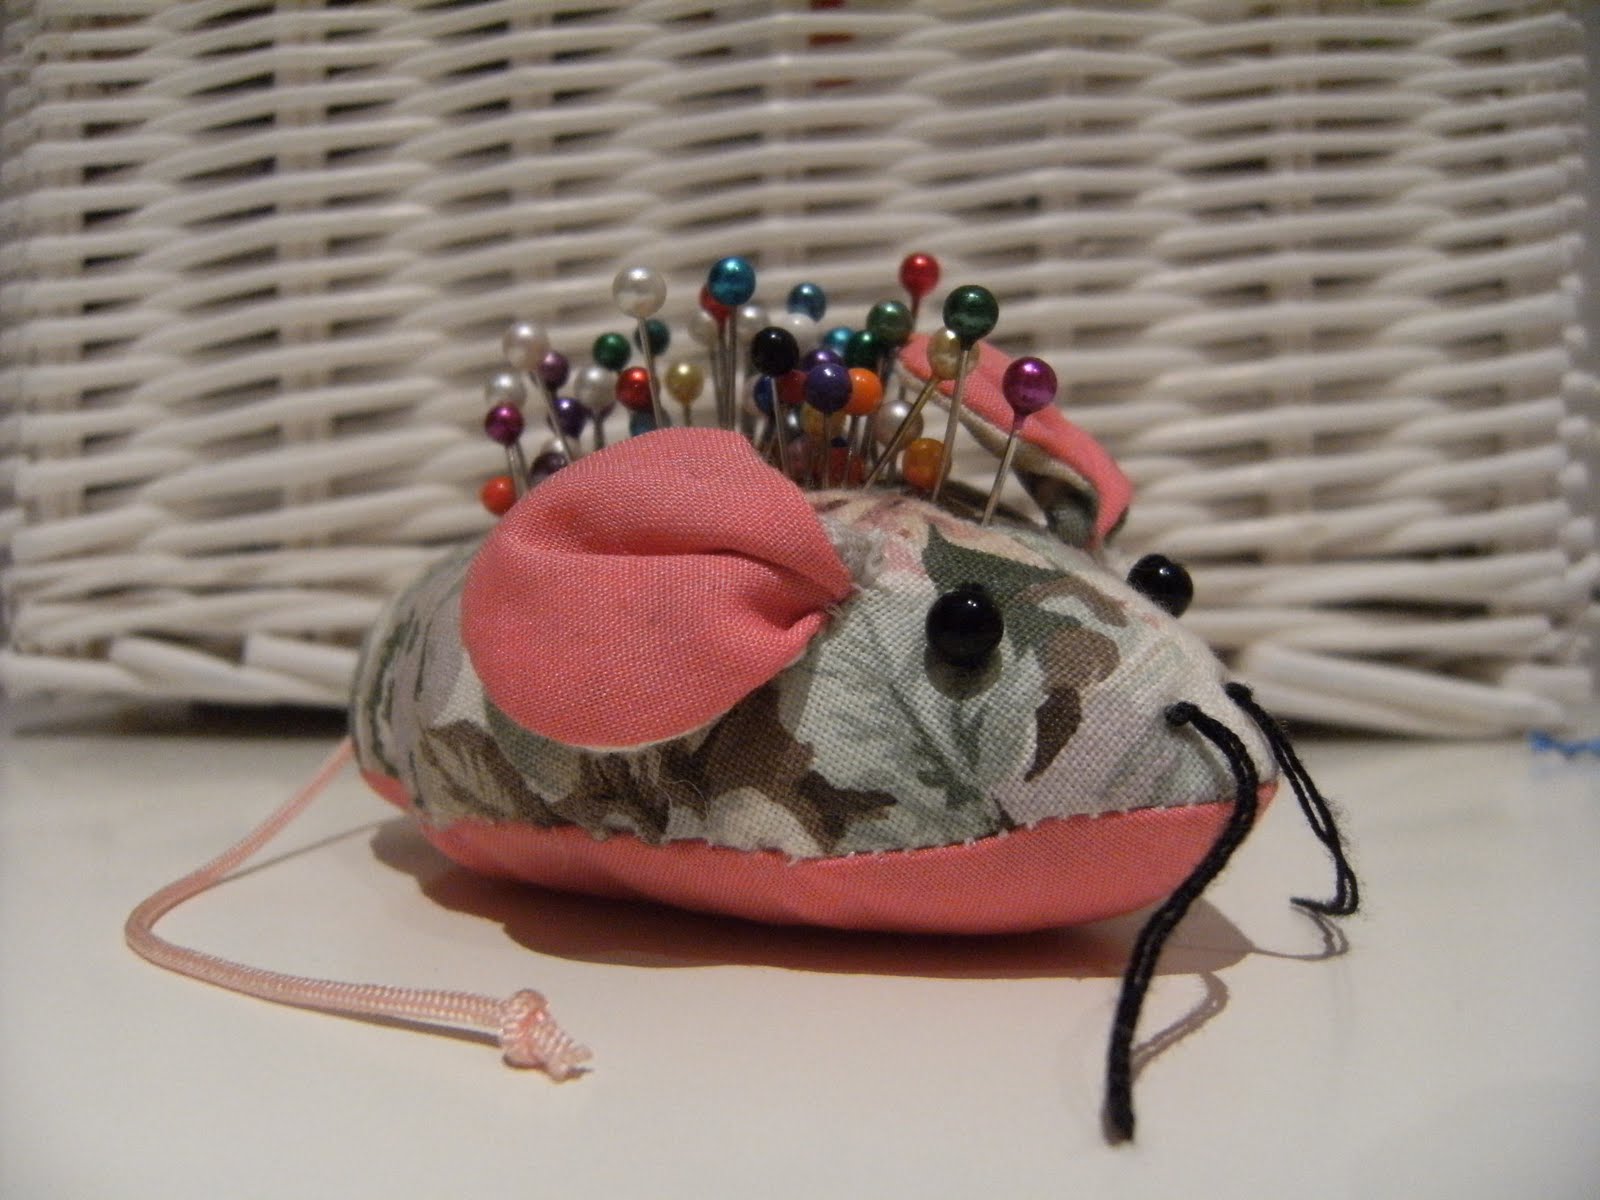 My mouse pin cushion is starting to show it's age. My mother-in-law (sorry EX mother-in-law) gave it to me about 20 years ago. It's served me well.
 I made a new mouse pin cushion also. Not as cute as the old one though. This needs some 'design adjustments' too. Definitely needs to look cuter!!
  I have a couple of display easels, which I love as a great way to decorate, but have never used them. So now I have. This is in the family room, behind the lounge that faces my other Florence artwork, 'Egrets' wallpaper art.
You can see a photo of 'Egrets' and read about how to make 'Wallpaper Art' here.
 So, now to how I did it. The instructions look like a lot, but it's easy really.
Materials:
NB the blank canvas I bought was the one with a low profile (depth) frame. If you buy one with the deeper profile, you'll need to add a bit more over hang of fabric - refer below.
Instructions:
Have a go and good luck.
If you need help, email me on designed.to.a.t@optusnet.com.au
 Good Luck everyone...Terese
Finally had some time to really concentrate on doing some screen printing. I did a course back in July and while I've had everything I needed to get started, time has not been my friend.
Even while I've been on holidays, I had so many other things on my list of 'to do' things, I was getting worried I wouldn't get there.
Anyway, here's the first of my designs. A few more to come over the next little while. A full day is planned for tomorrow.
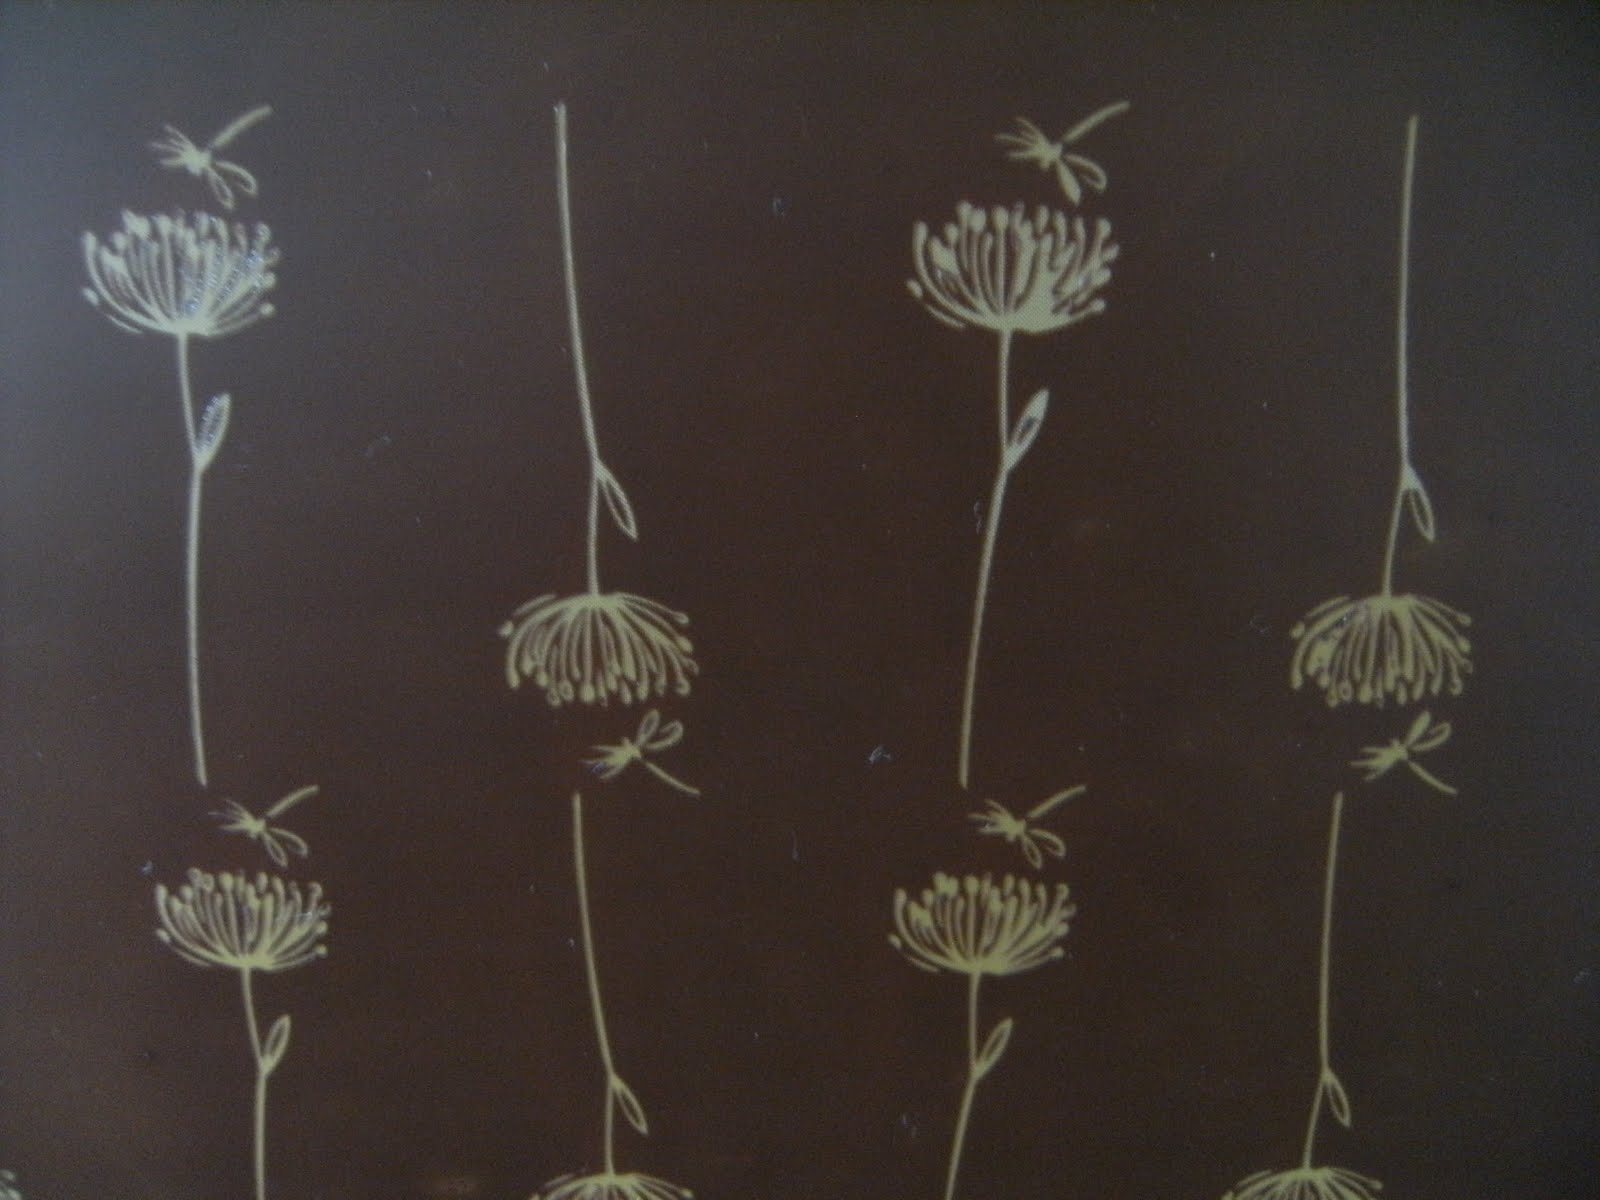
The final design is, well the one I printed, 'Grassdragon'.
I'm just going to refine it a little bit. It's prints a bit too fine. I'd like to get some more ink on the fabric. Playing with that tonight.
I called it Grassdragon as it's a combination of a flowering grass and a dragonfly. I love dragonflies, but didn't want the 'usual' look.
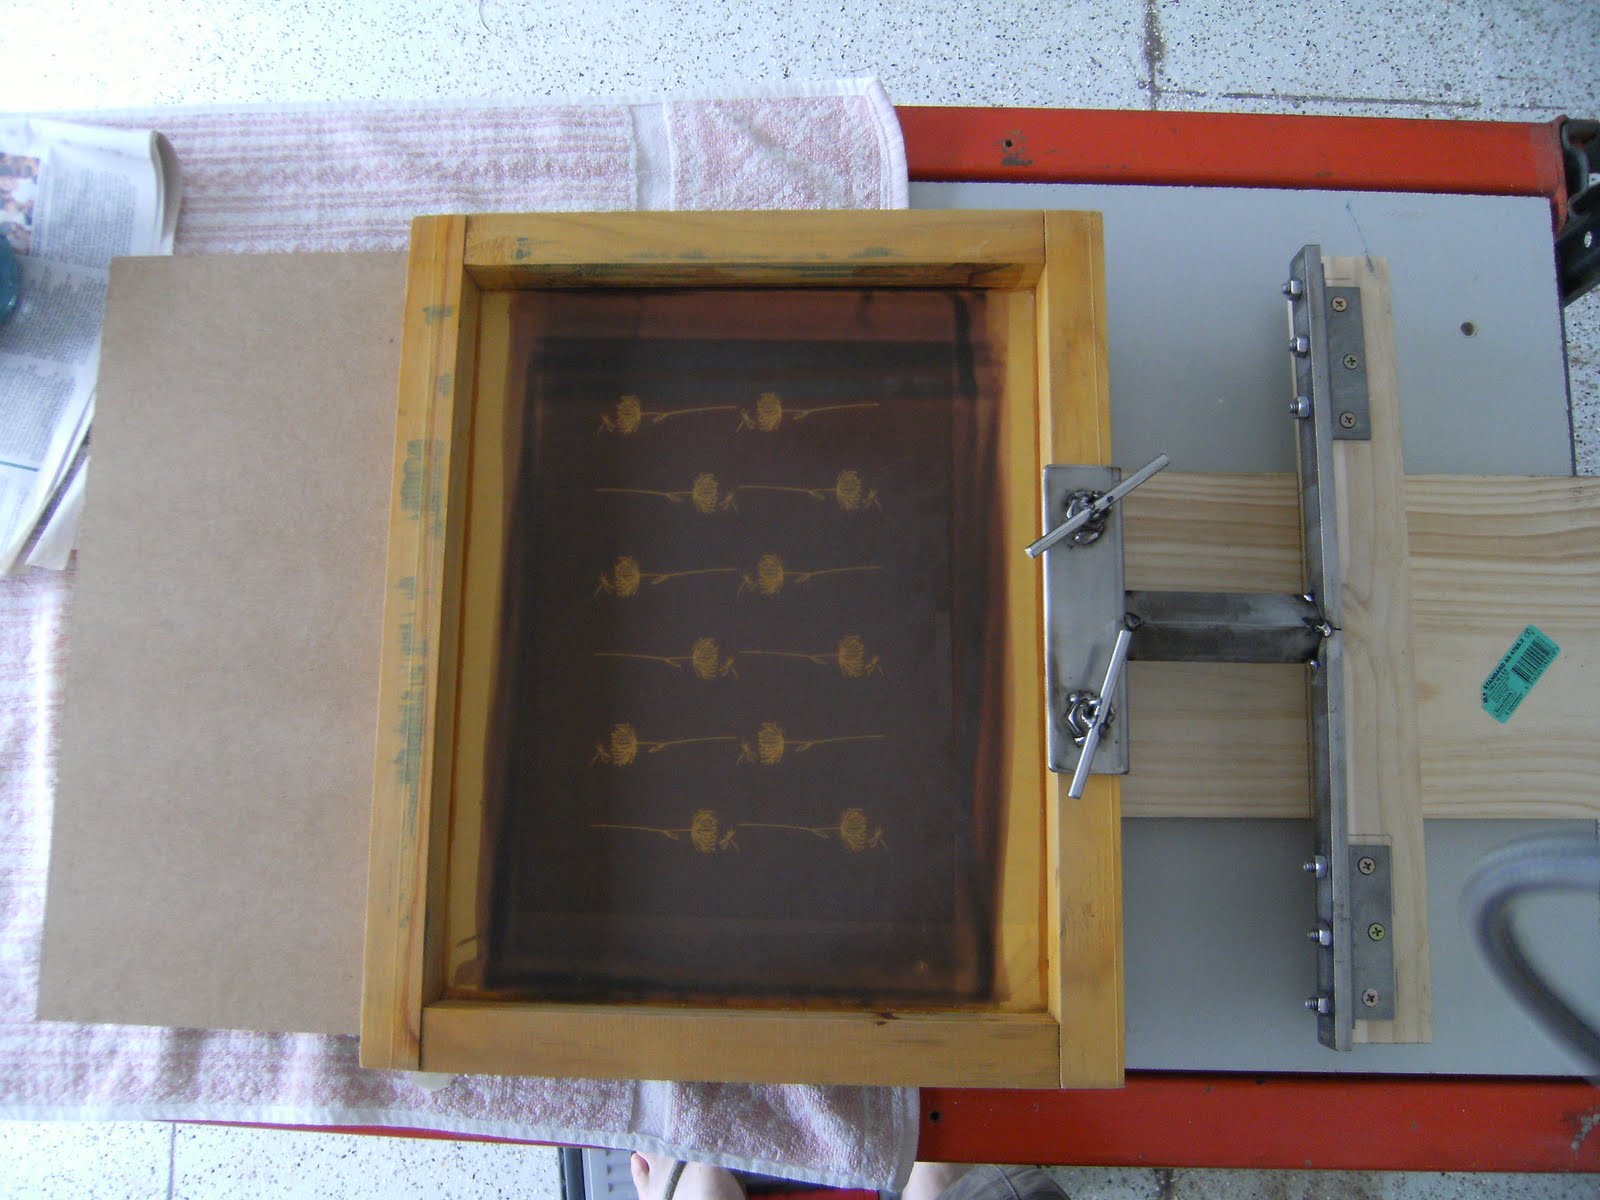
 Screen ready to go.
Close up of 'Grassdragon' ready to go on the exposed screen.
Screen set up on my new little gadget handyman made for me, to my specs. Caused a few heated discussions, but we got there. Works a treat!
Little tote bag printed and embellished. I printed it with a colour I mixed myself, (have kept the 'recipe' though). I really liked the colour, so will probably use it again.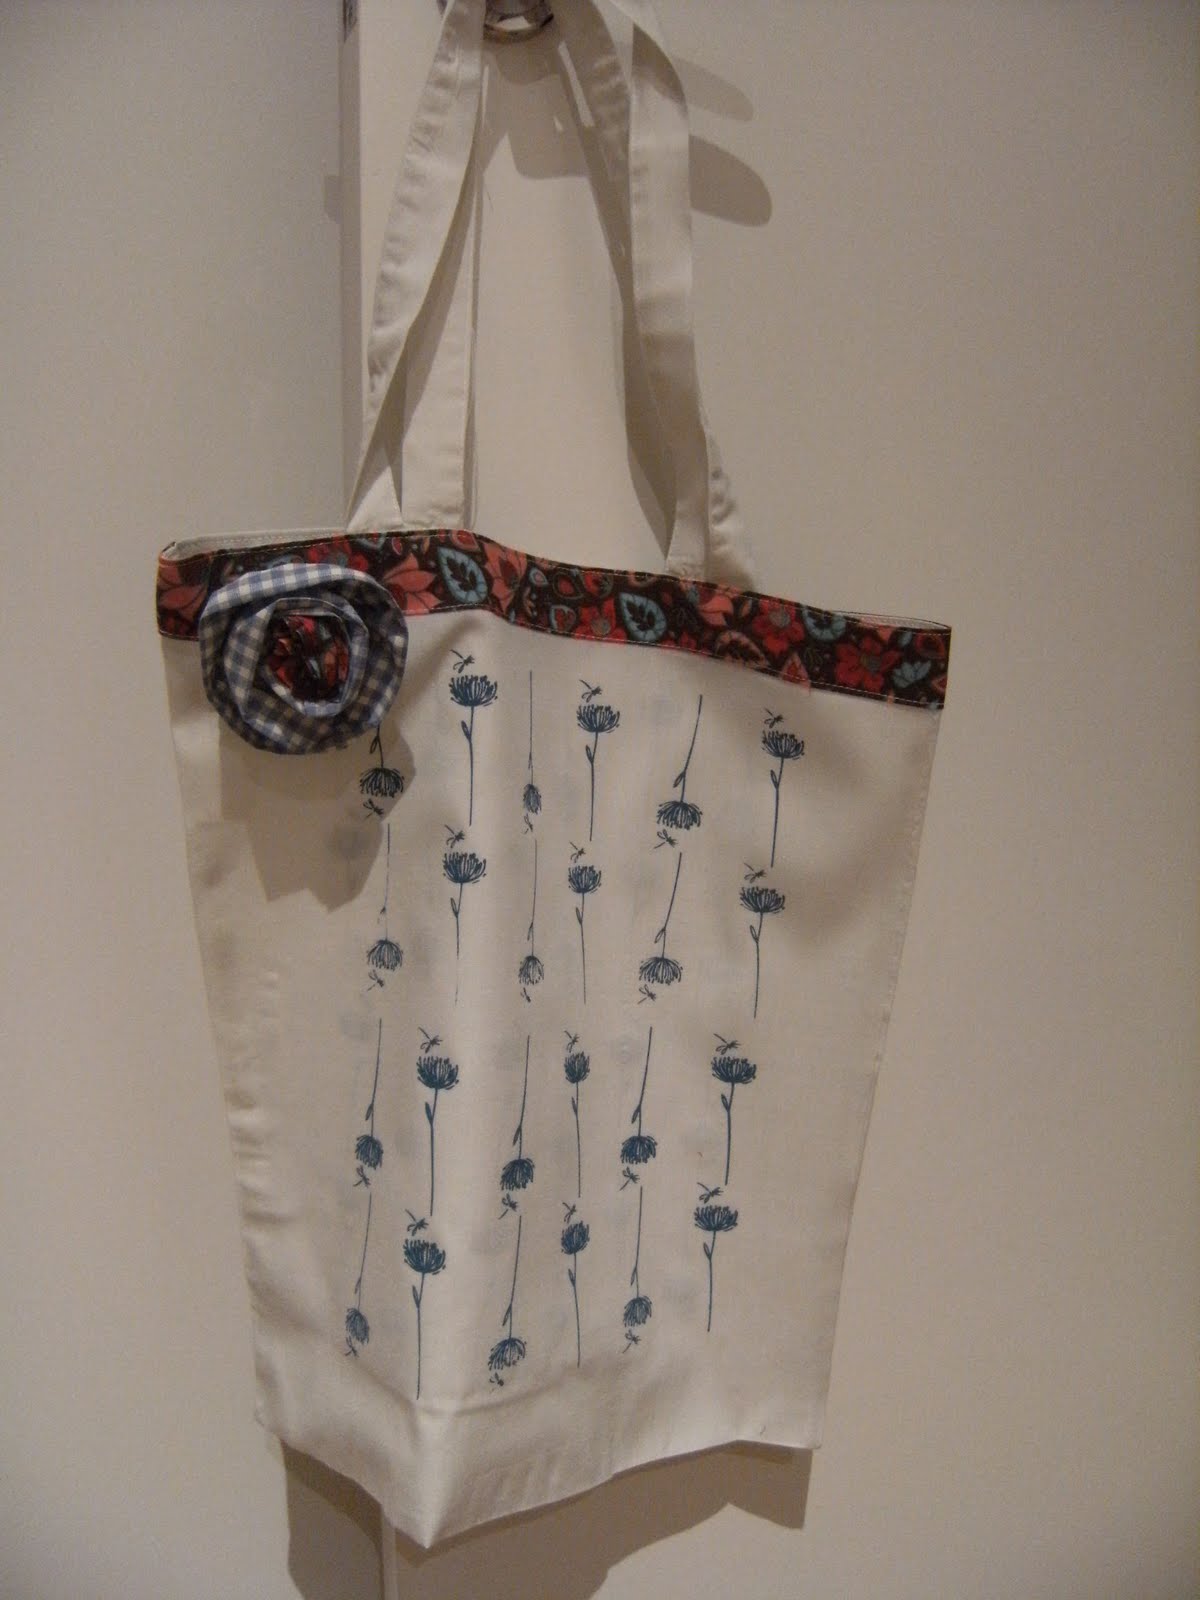
Bit of a close up. I trimmed the top of the bag with a fabric from my stash. It's one from Spotlight. Then I found a check I'd bought years ago to embellish a singlet for my neice, so I made a fabric rosette out of that. Just finished it off with the middle of the rosette from the same fabric as the trim.
 Close up of the trim and rosette.
More creative people here.

I put this out there a little while ago and at the time I didn't have too many followers nor did I follow a lot of blogs myself.
Since I've been reading so many more wonderful blogs relating to craft, sewing, handmades and fabrics, I thought I'd pop on over to the blogs I've been reading and let you know I'm here.
Have to admit, I am a bit of a stash lover. It's getting bigger by the day since I've reignited my passion for all things handmade.
My latest is coming from Quilt Home, as I was after some more Amy Butler designs.
So, let's see what happens this time.
If you are out there and you have a stash, I'd love to hear from you.
Here's the code for my button, and don't forget to link you post back to here. Or you can get it from my side bar.
Thanks everyone. Hope to hear from you.
 My friend loved it.
 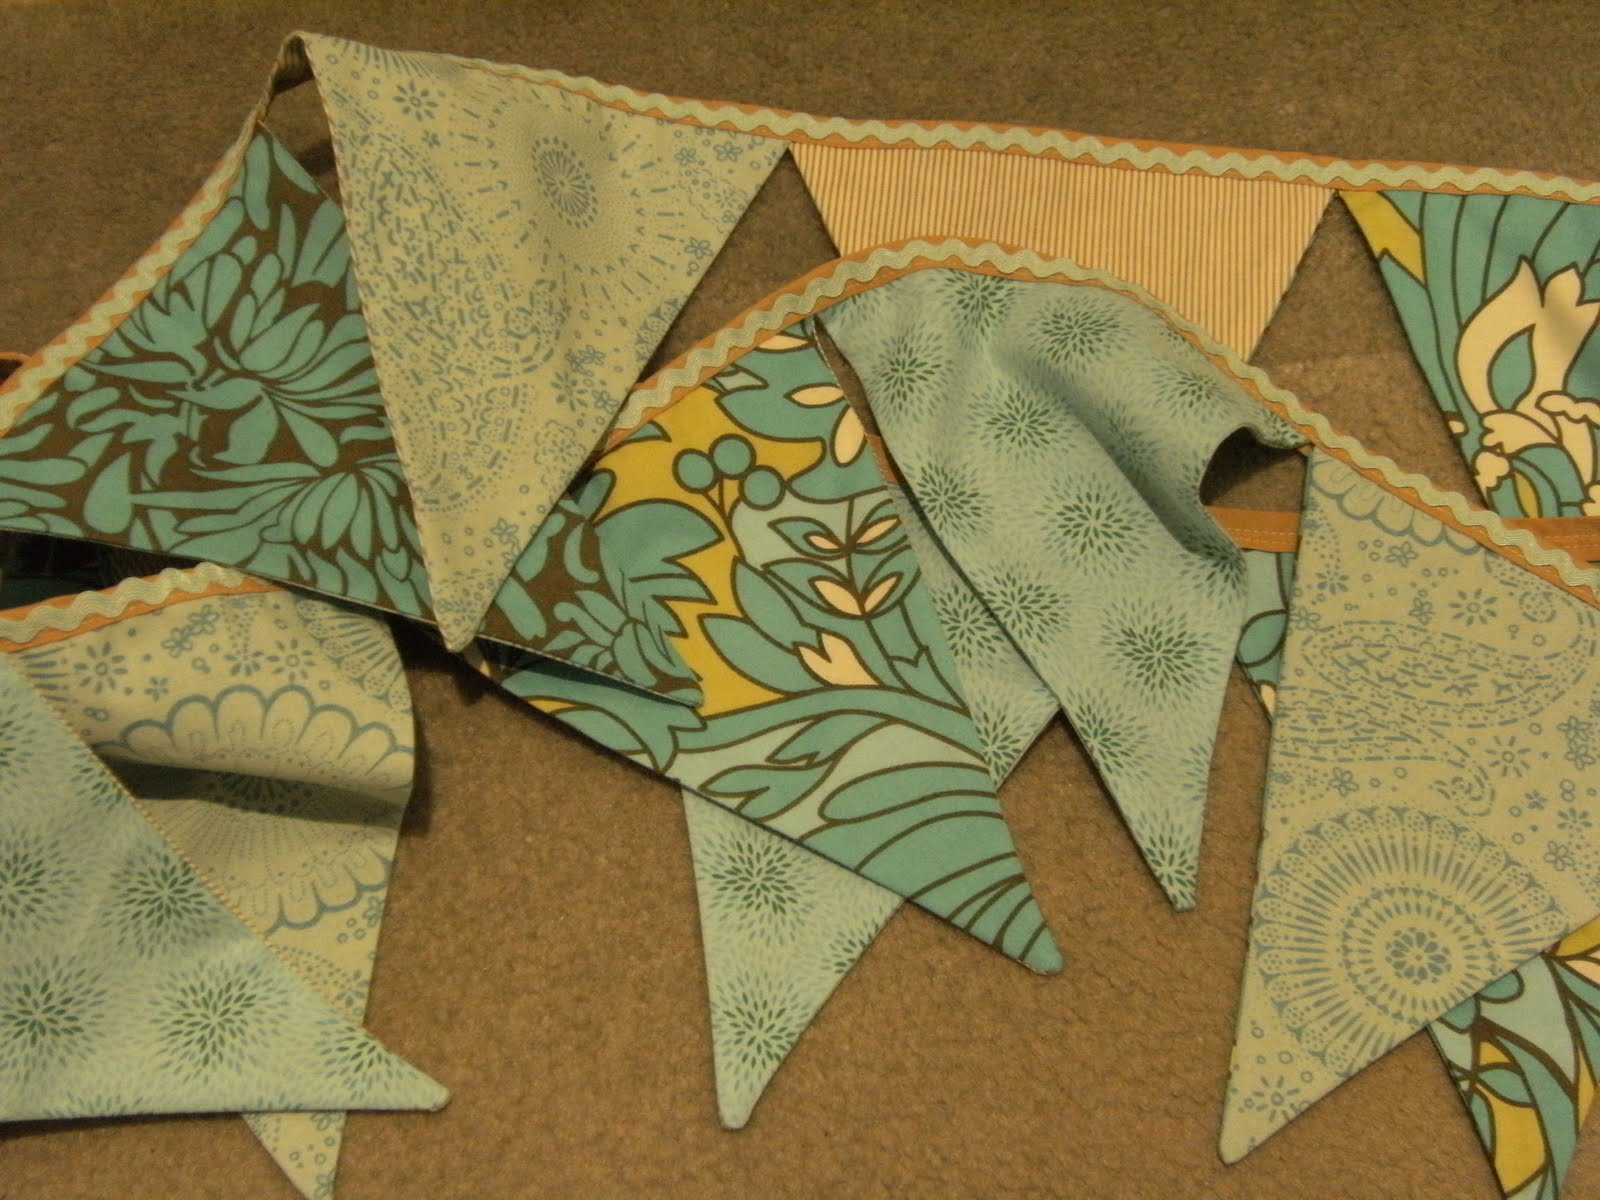 I finished it off with a neutral bias binding highlighted with a light aqua coloured zig zag trim. The photo isn't great, wrong lighting, sorry.
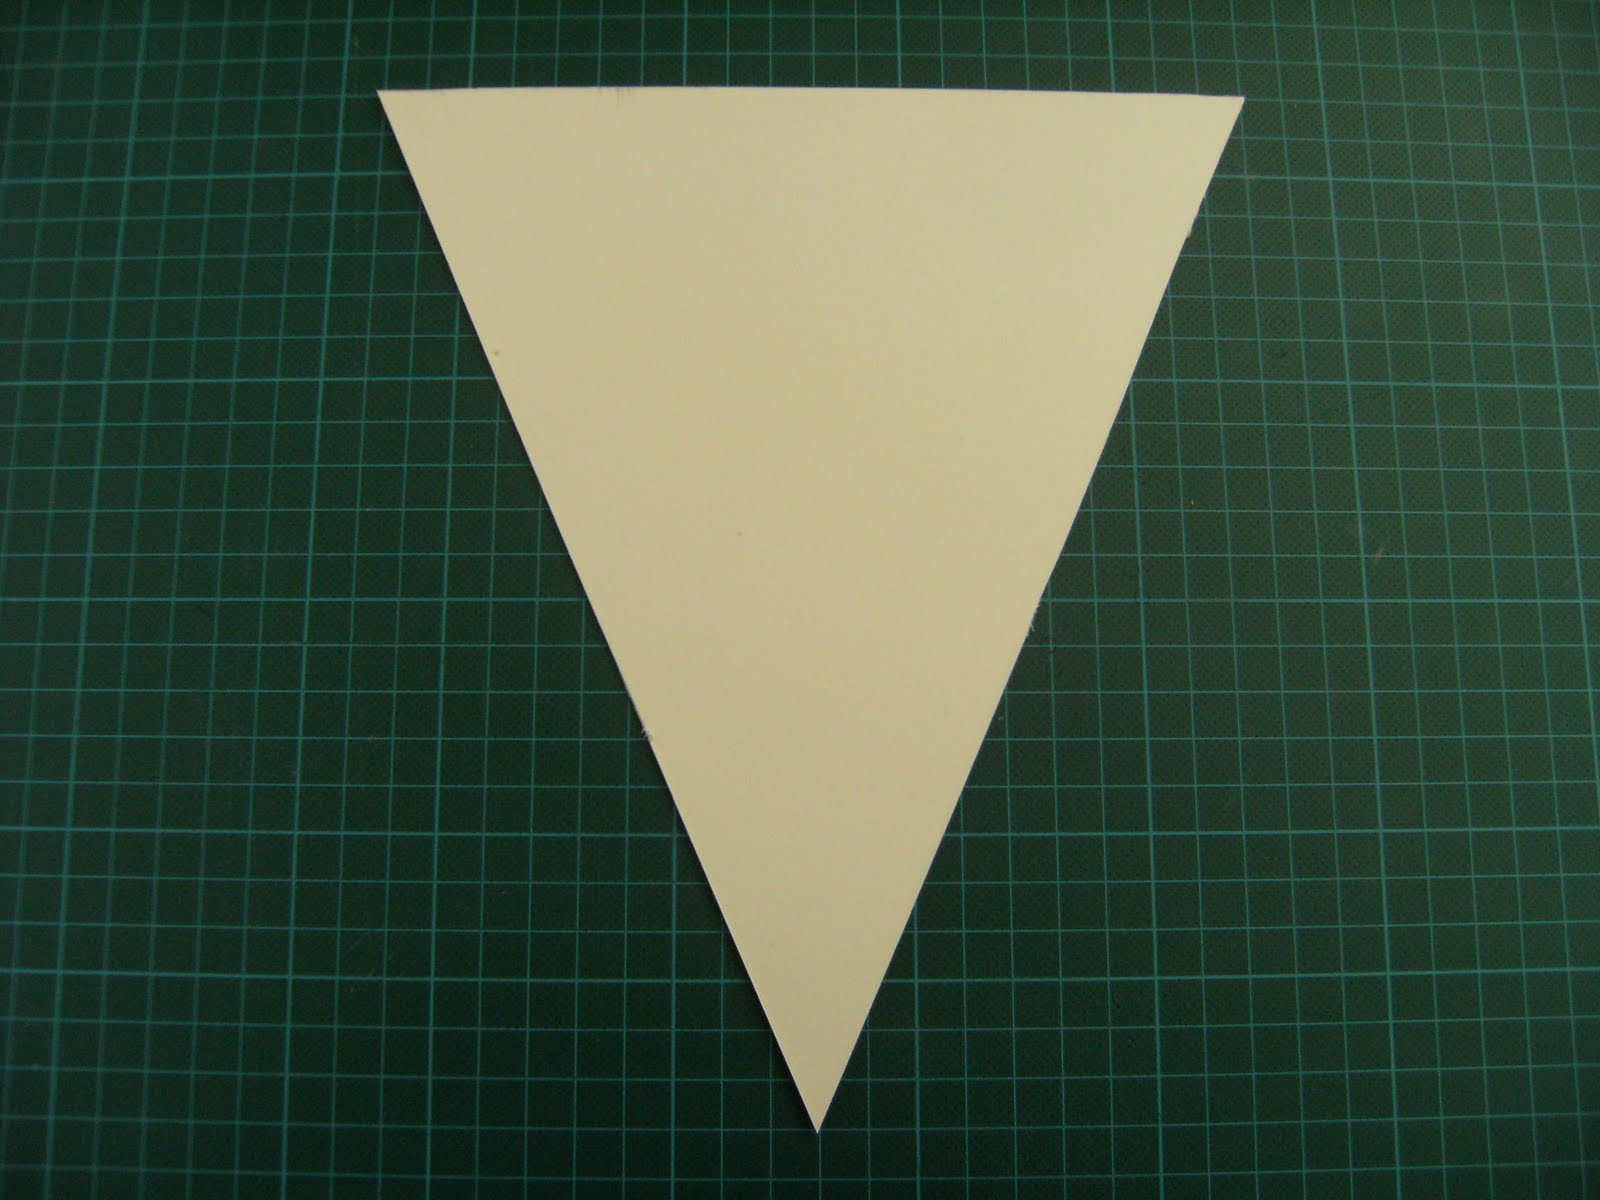 I started with a triangle template. Sides are 25cm and the top is 20cm. This one is cut from a thick card I had left over from an assignment last year, but you could use a graph paper template/pattern also and achieve the same result.
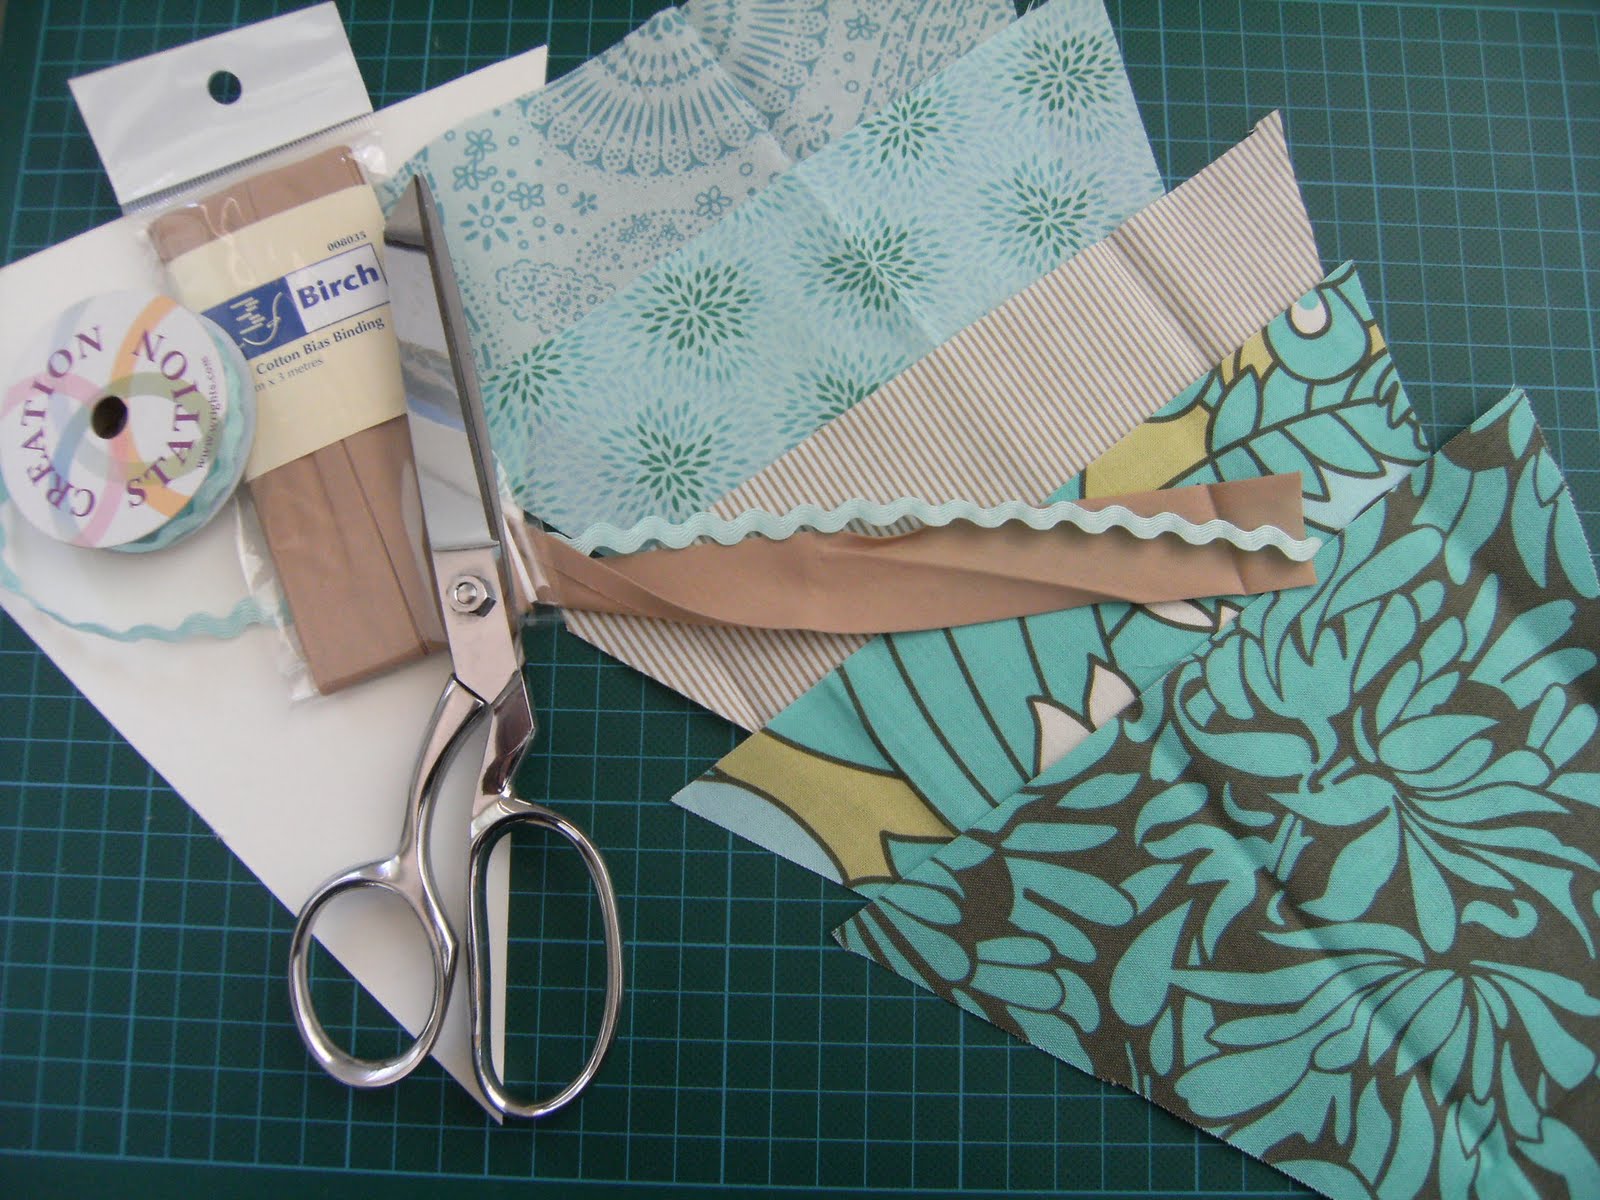 Materials:
 To save time and thread, I sew my triangles in a row one after the other without trimming the thread until I've gone around a few. I also reverse stitch at the point to re-enforce the stitching before turning out the right way.
 Trim the point, turn the triangles out the right way, finish the point by using something pointed to push it out. I find an old knitting needle is great for this.
 Iron each triangle then set out the order of patterns for the finished bunting. Fold in half and iron the bias. Pin triangles to the folded bias in your order, leaving about 10 cm of bias at each end, then sew together with a straight stitch.

 This one below is more in line with the French feel, but only shelving. I'm liking the colour though and have a couple of things in this colour from Kikki K for the room anyway. This might dictate the colour base for the face lift.
 How great is this printer's cabinet?
 Very organised work area below. Not really me. I like to be tidy, but I also would like some flair.
 I think below is more along the lines of the 'french flavour' I'm after. I might use this as a starting point and see where it ends up.