 I made this one for myself a few months ago, and was reasonably happy with it. I needed to have checked the lengths before I finished it. it's a bit short and I have a bit of trouble getting it off.
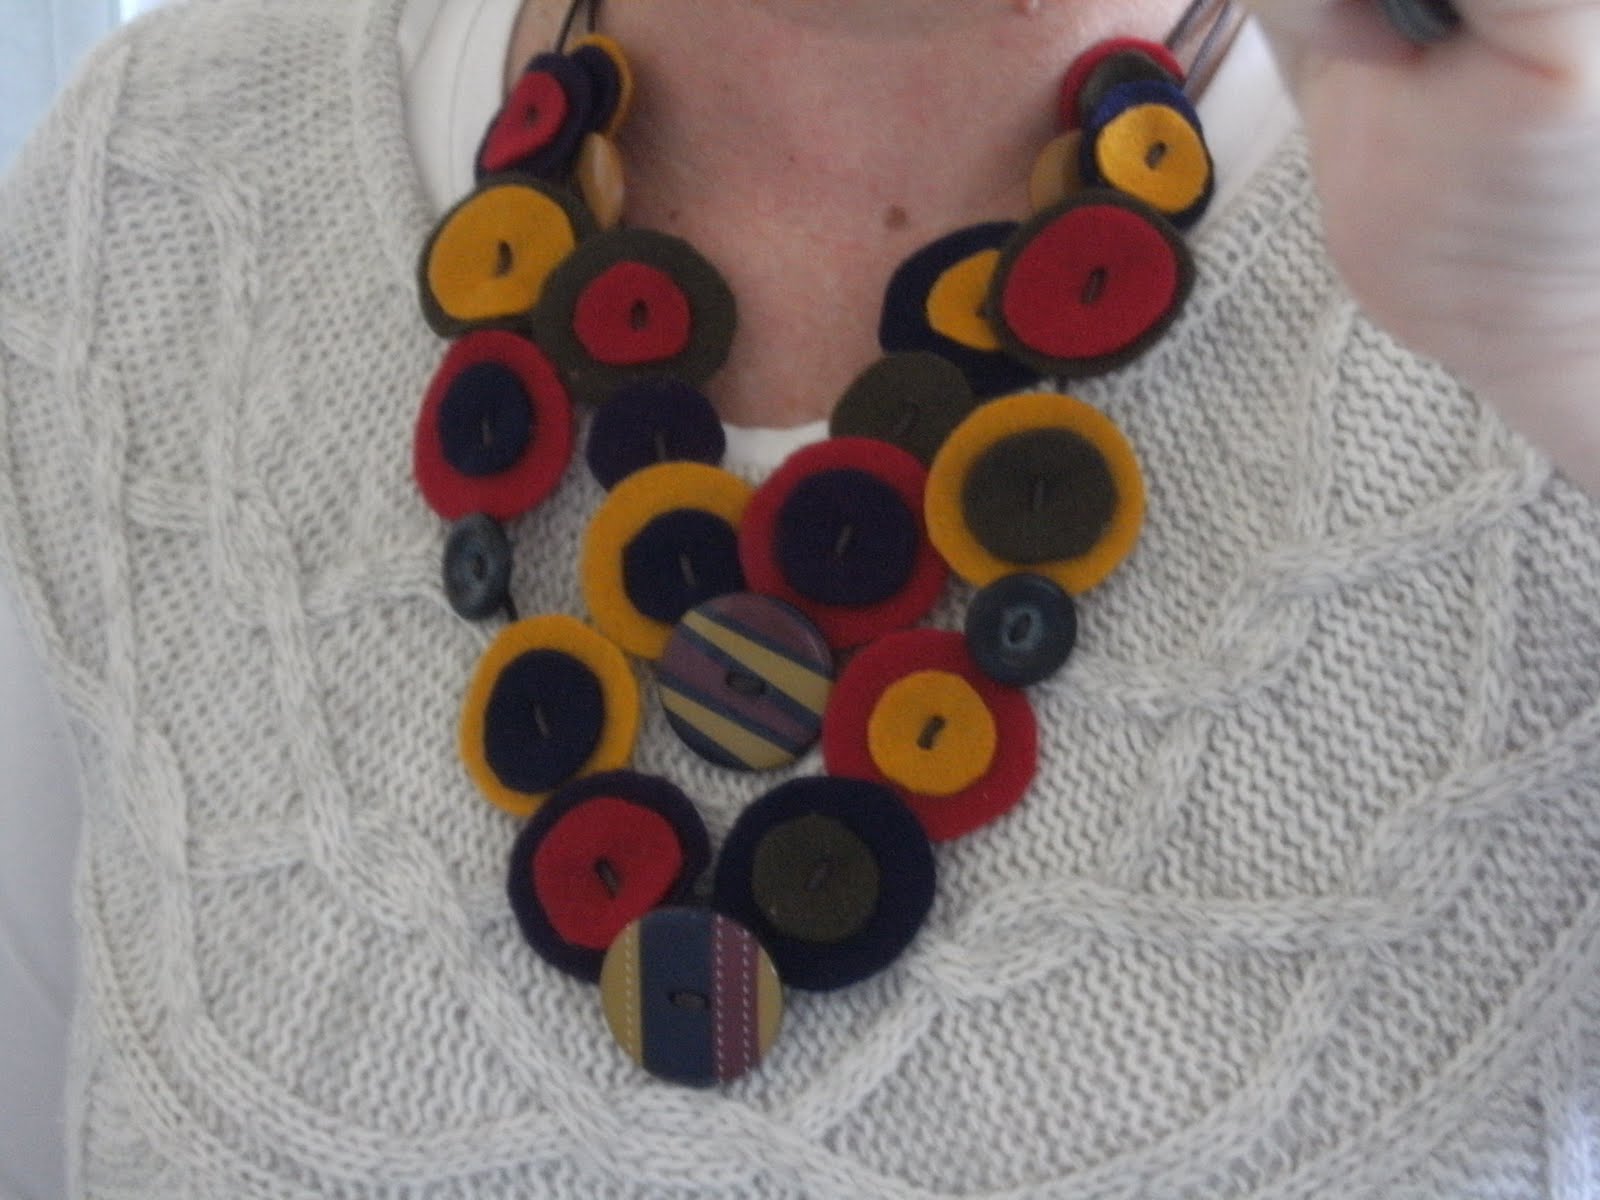
 This colourful one was made as a birthday gift for my son's girlfriend this month. I love the colours , he helped me pick them. Basically, I found some great buttons at Spotlight, then chose some felt to match/co-ordinate. I then made felt 'buttons".
Felt is sold in about an A4 size, so you can make heaps of felt 'buttons' out of one sheet. The project wasn't very expensive because of this. The coloured buttons were about $5 (AUD) for a card of 3.
The pictures below show a step by step format if you want to try to make one.
 Materials:
Coloured felt - I had 4 colours
8 buttons - 3 different types/styles. 3 feature buttons and 3 of one a smaller style (small white pictured), and 2 of another type (pearlescent blue pictured)
Craft glue
Craft scissors
Craft tools (pictured below - if you have them), a bead to finish
Faux leather - I had about a 3 metre length (or similar, you could also maybe use a few strands of embroidery thread)
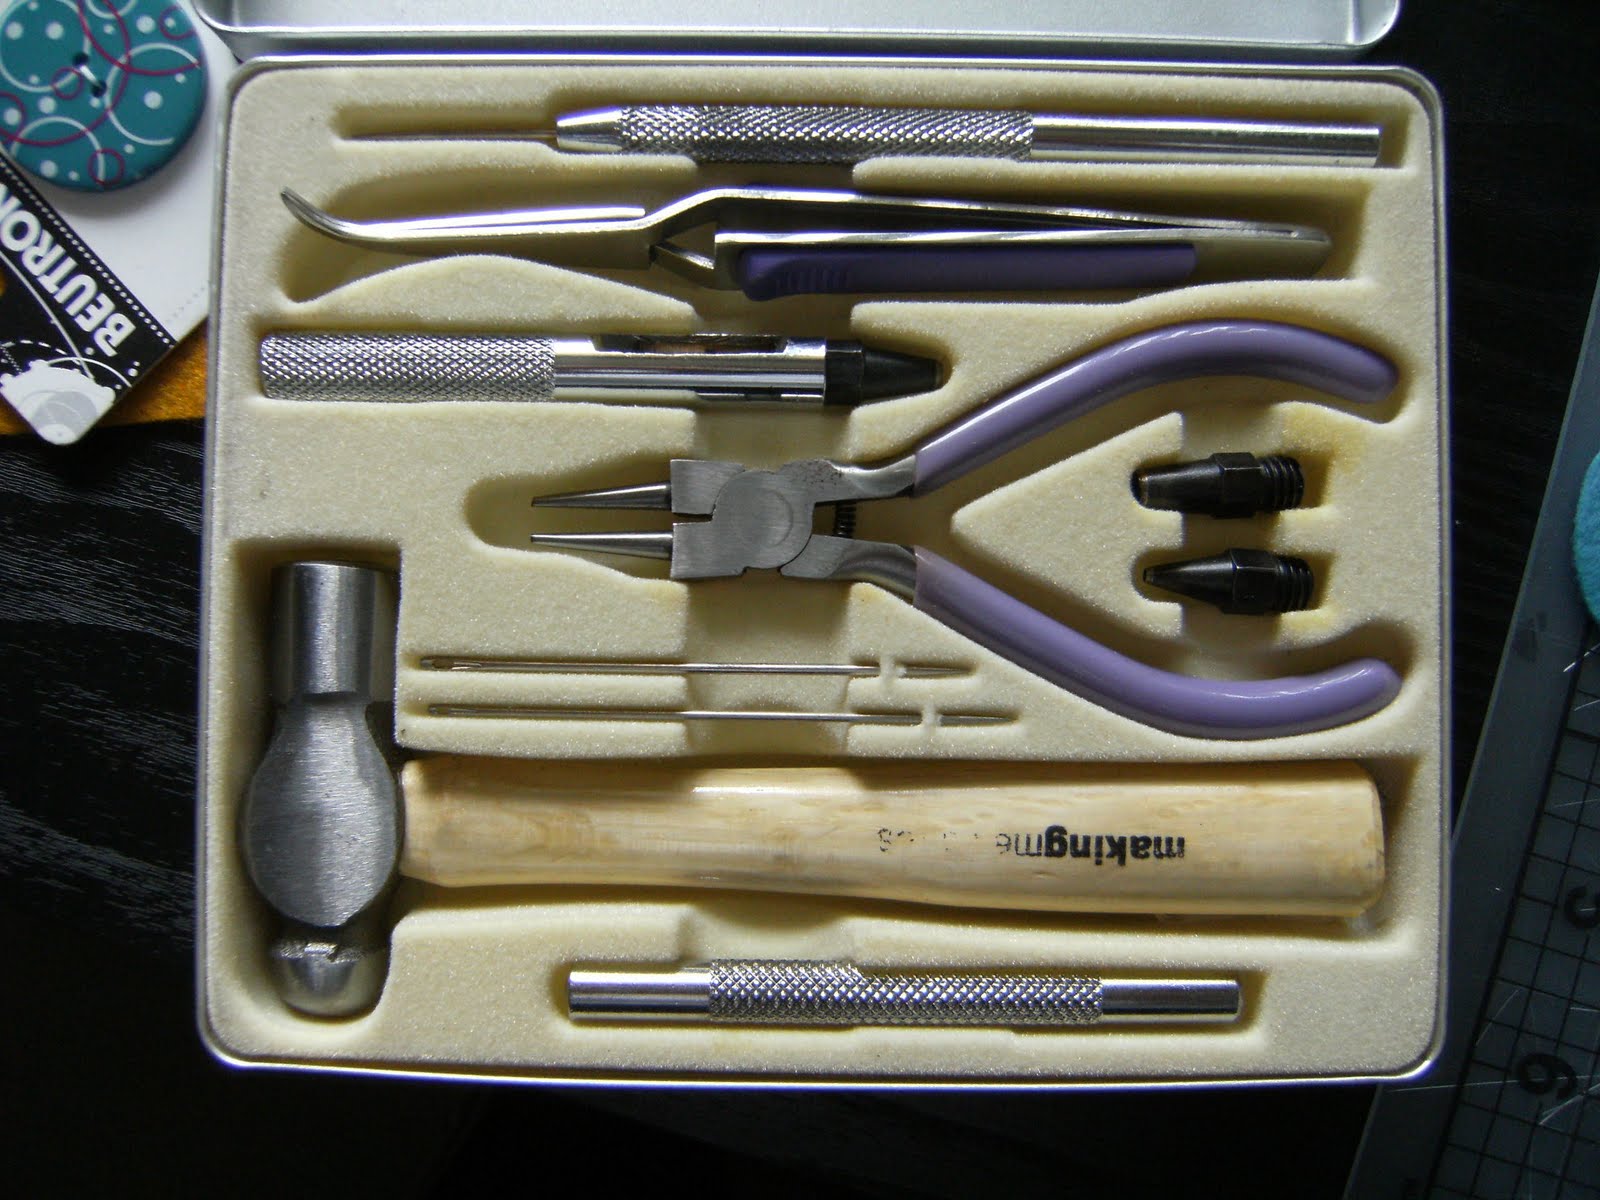 If you are a scrapbooker, you will probably have a set of tools similar to these. Depending on what you use as a thread (I used Faux Leather), say maybe embroidery thread, you could sew the buttons together with a large hand sewing needle.
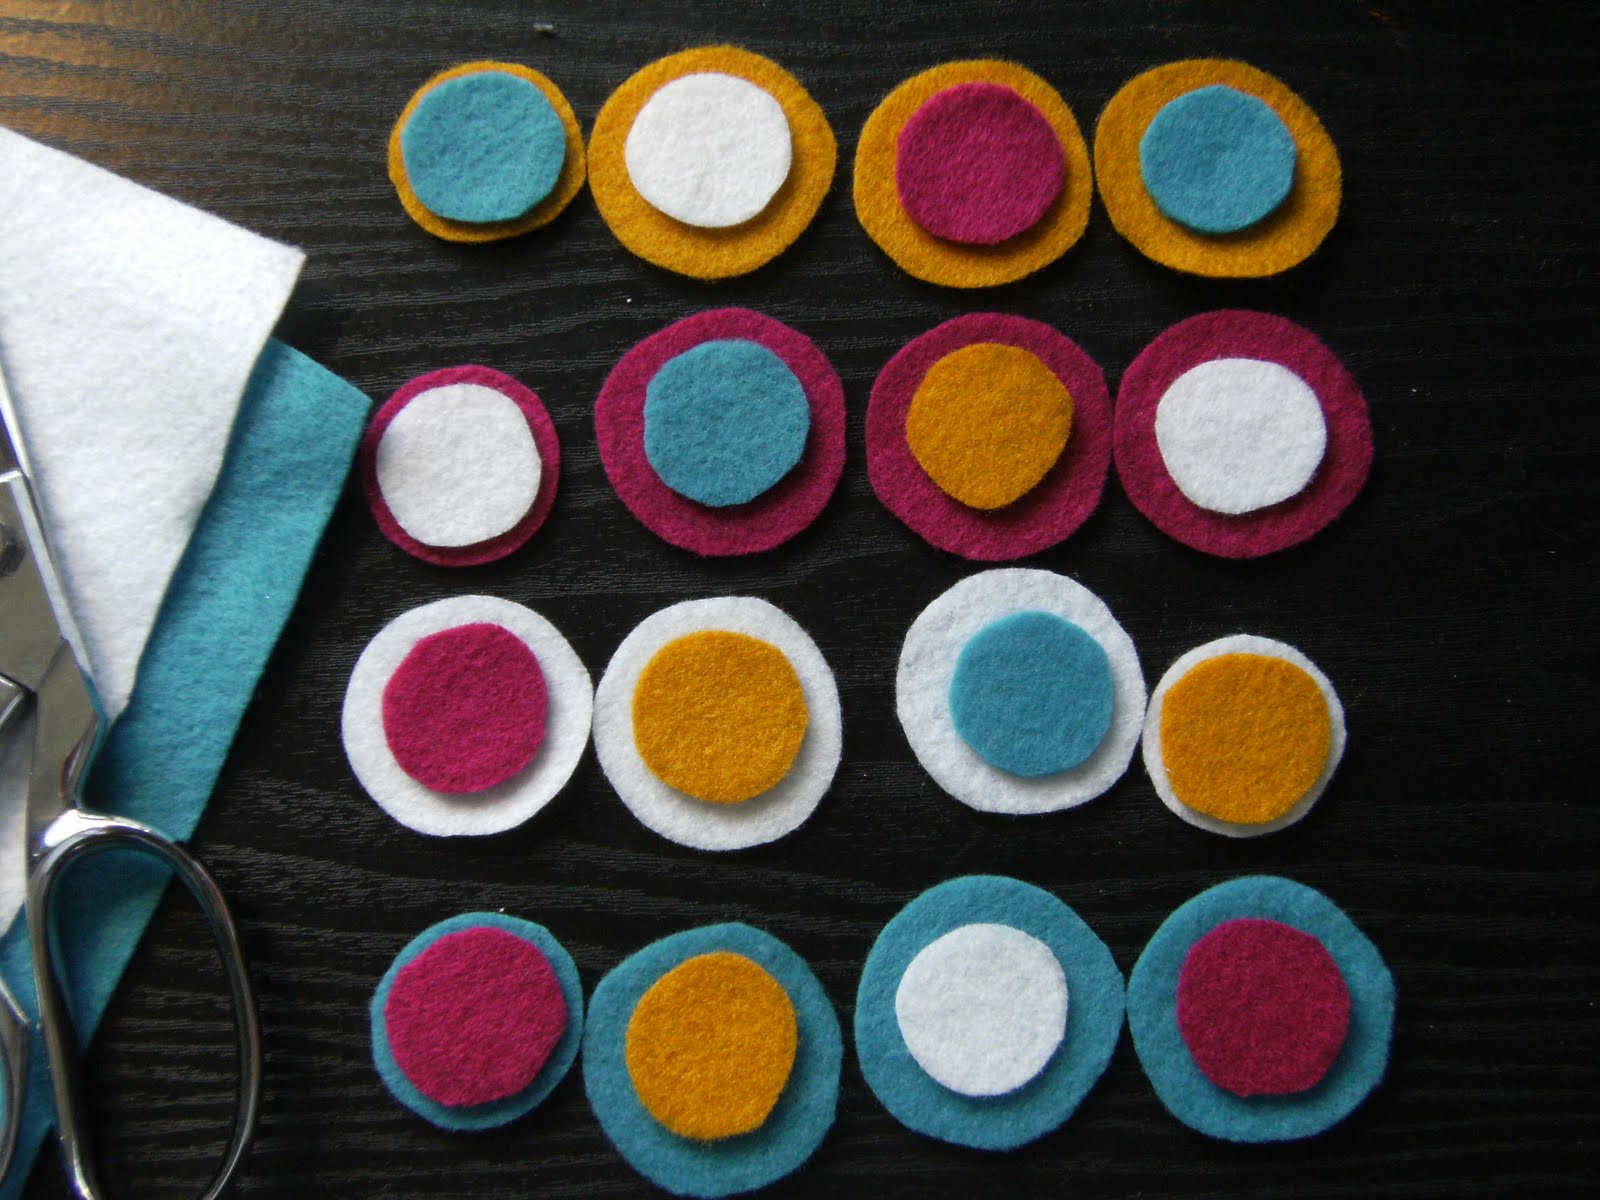 Cut 4 large and 4 smaller circles of each colour (16 of each size). You will need a few middle sized ones also, so what I did was start with the 4 large and 4 small of each colour, then when I knew my colour combinations (above) I cut down some of the large ones until I had 4 medium sized circles, above see 2 top rows and bottom row on left, second last row on right.
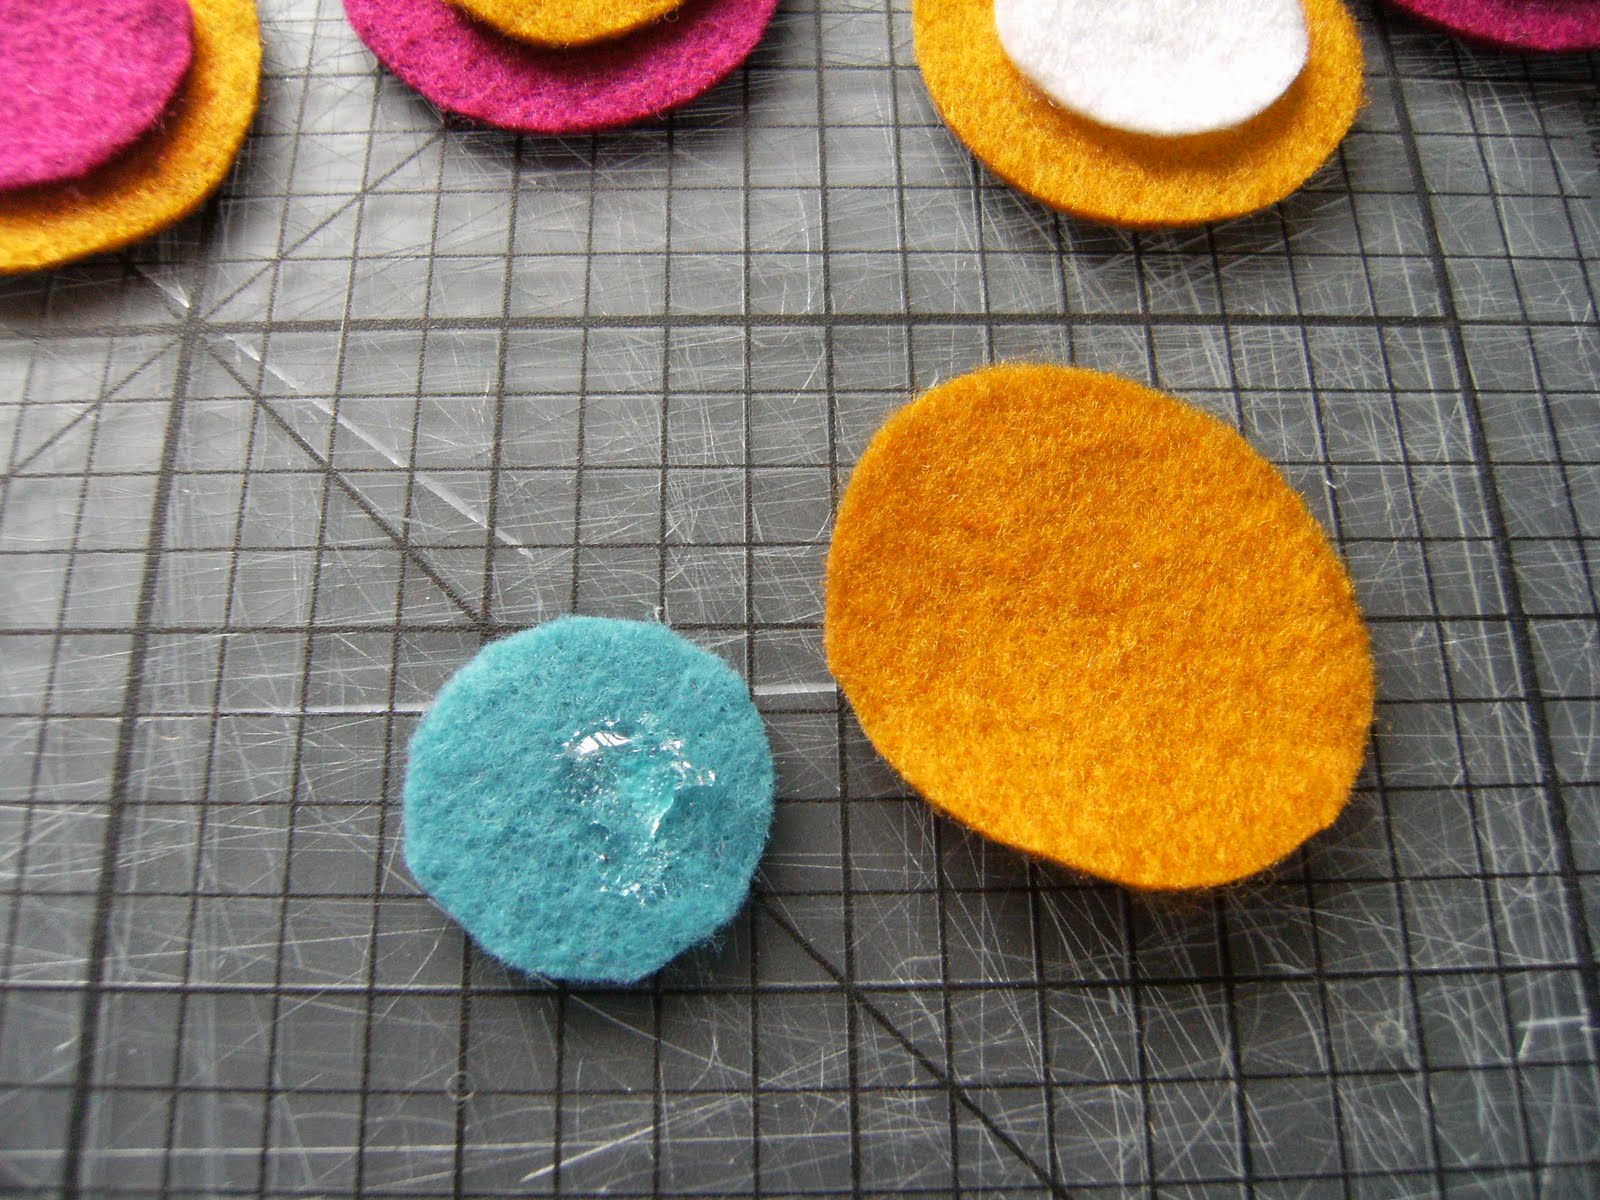 A spot of craft glue on the smaller circle and stick together to make the 16 sets of circles.
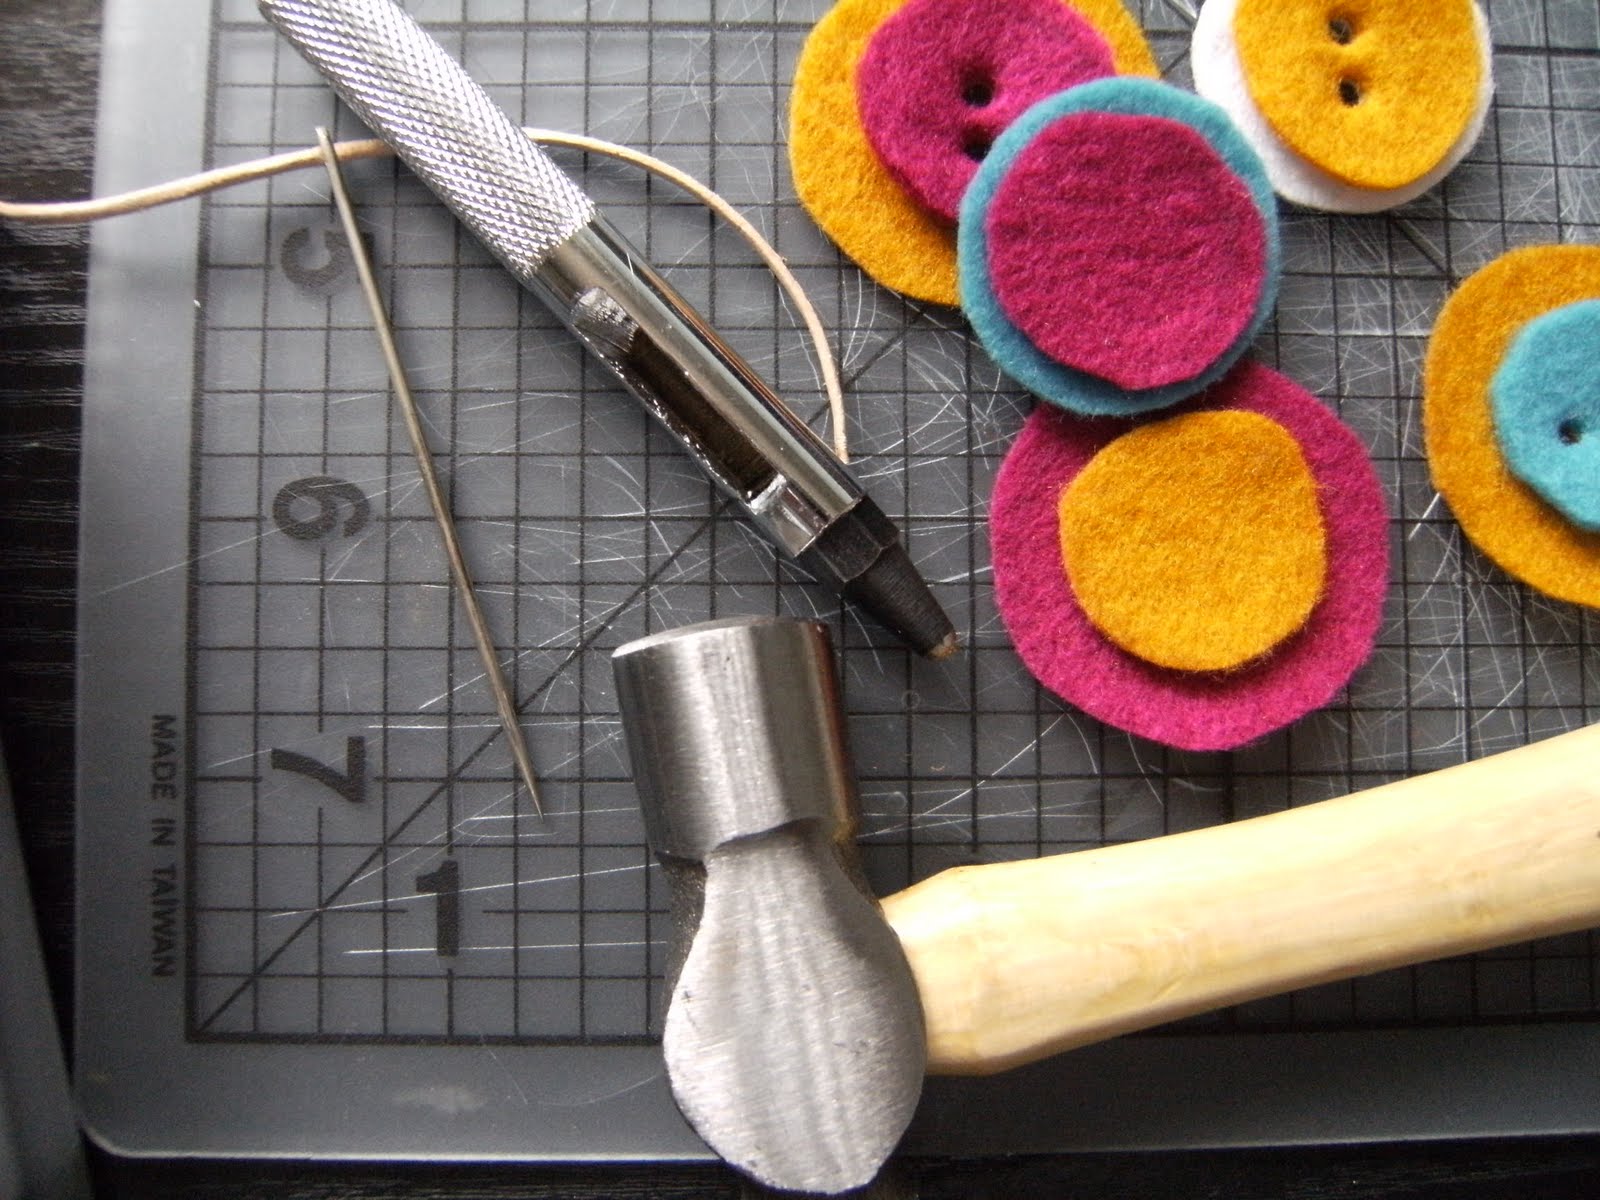 Use a small hole punch (or something similar) from the Craft tools to make the felt 'buttons', above. Set out how you'd like the necklace to look with colour combinations, below.

 Start threading your necklace together. You will need to use the middle button on the longer strand as your starting point.
I've sewed over and under for each of the felt buttons so they don't slide when being worn, so the length of your thread will need to have extra for this. You can cut it down when finished. Measure how long you'd like the finished length for each strand, then add about another 25-30 cm for sewing the buttons - see below.
The thread was tied off at the back of the real buttons to stop them moving also.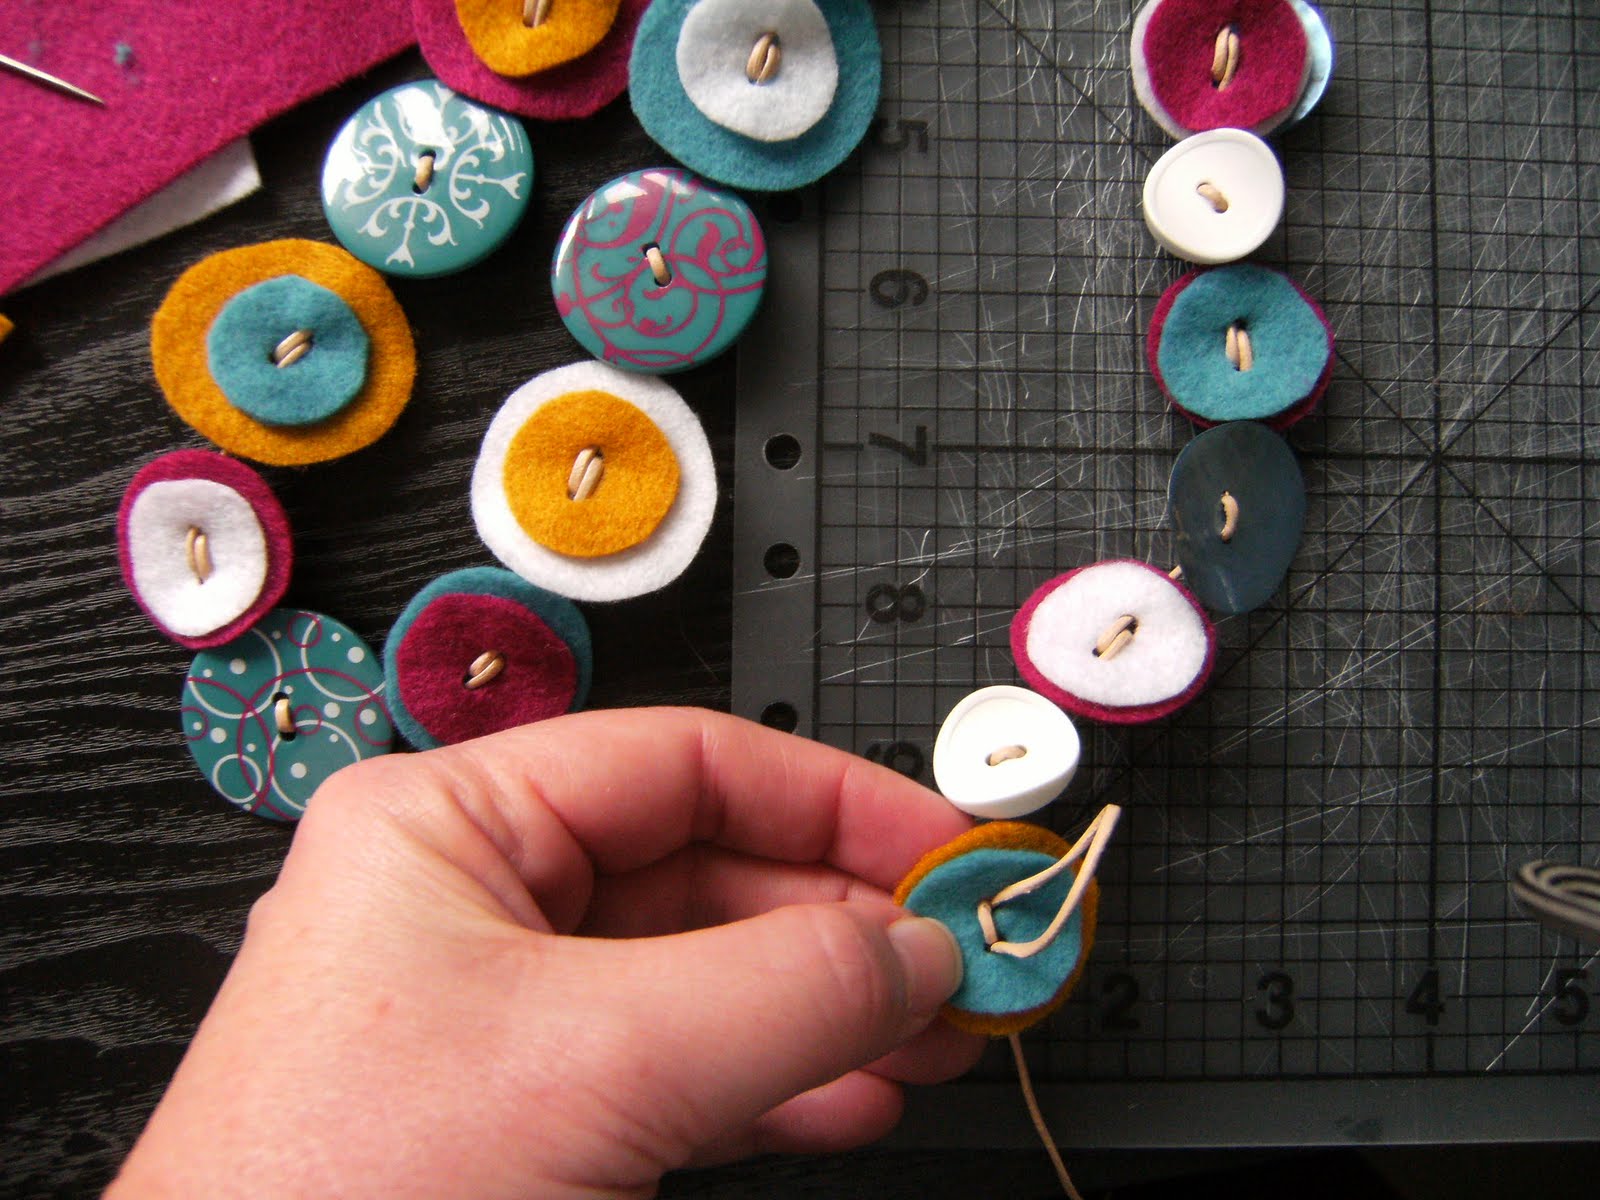
 To finish, after you've sewn all the buttons, lay the 2 strands on a flat surface, as they will sit when being worn. Measure the extra length you need by holding the loose ends and put it on over your head to make sure you can get it on and off. Slide you bead on and tie off the 4 strands, cut off excess thread.
  Remember, this is just a prototype of sorts. It works, but I'm still refining. if you have a go and come up with some better techniques, let me know.
This is gorgeous. I love the concept and the colours.....fabulous. x
ReplyDeleteP.S. Thank-you for the sweet comment on my blog.
hey that looks really good, you talk about you fabric stash, yes i have one to, that is overloaded but i have have a big button stash, so i'll have to keep this in mind when i can get all those other things done.
ReplyDeleteHi Mel, I have another style for these coming soon...Terese
ReplyDeleteThanks for stopping by.